Claude Code
Terminal coding assistant powered by Anthropic's Claude, with multi-file collaborative editing.
Introduction
Unleash the power of Claude directly in your terminal. Search million-line codebases in an instant. Turn hours-long workflows into a single command. Your tools, your workflow, your codebase — evolving at the speed of thought.
- Official homepage: https://www.anthropic.com/claude-code
Features
| Category | Feature |
|---|---|
| Code understanding | Deep codebase analysis, using intelligent agentic search to understand project structure and dependencies |
| Automatically generates high-level code overviews to quickly help users understand the codebase | |
| Code editing | Supports multi-file collaborative editing for complex code changes |
| Provides practical, usable code suggestions that match the project's patterns and architecture | |
| Integration | Runs directly in the terminal, with no context switching required |
| Seamlessly integrates with VS Code and JetBrains IDEs, with no copy-and-paste needed | |
| Code generation and optimization | Automatically generates code, creates tests, and fixes bugs, supporting the full flow from concept to commit |
| Optimized for code generation and understanding, powered by advanced models such as Claude Opus 4 | |
| Security and flexibility | Changes require explicit user authorization, making file and command operations safer |
| Adapts to your coding conventions and supports custom configuration | |
| Toolchain integration | Works with tools such as GitHub and GitLab to enable automated workflows |
| Integrates with test suites and build systems to enhance your existing development tools | |
| Cross-platform and extensibility | Supports Windows, macOS, and Linux |
| Can be configured to run in the SDK or GitHub Actions, flexibly adapting to different needs | |
| Key use cases | Codebase onboarding and understanding, helping new team members get up to speed quickly |
| Code issue fixing and optimization, from analyzing the problem to submitting a PR | |
| Project code refactoring and new feature implementation | |
| User feedback highlights | Boosts day-to-day development efficiency by saving time spent on routine tasks |
| Excels at complex, multi-step tasks, expanding development possibilities |
How to Configure the AI Model
Step-by-step Guide for Windows
1. Install the Node.js environment
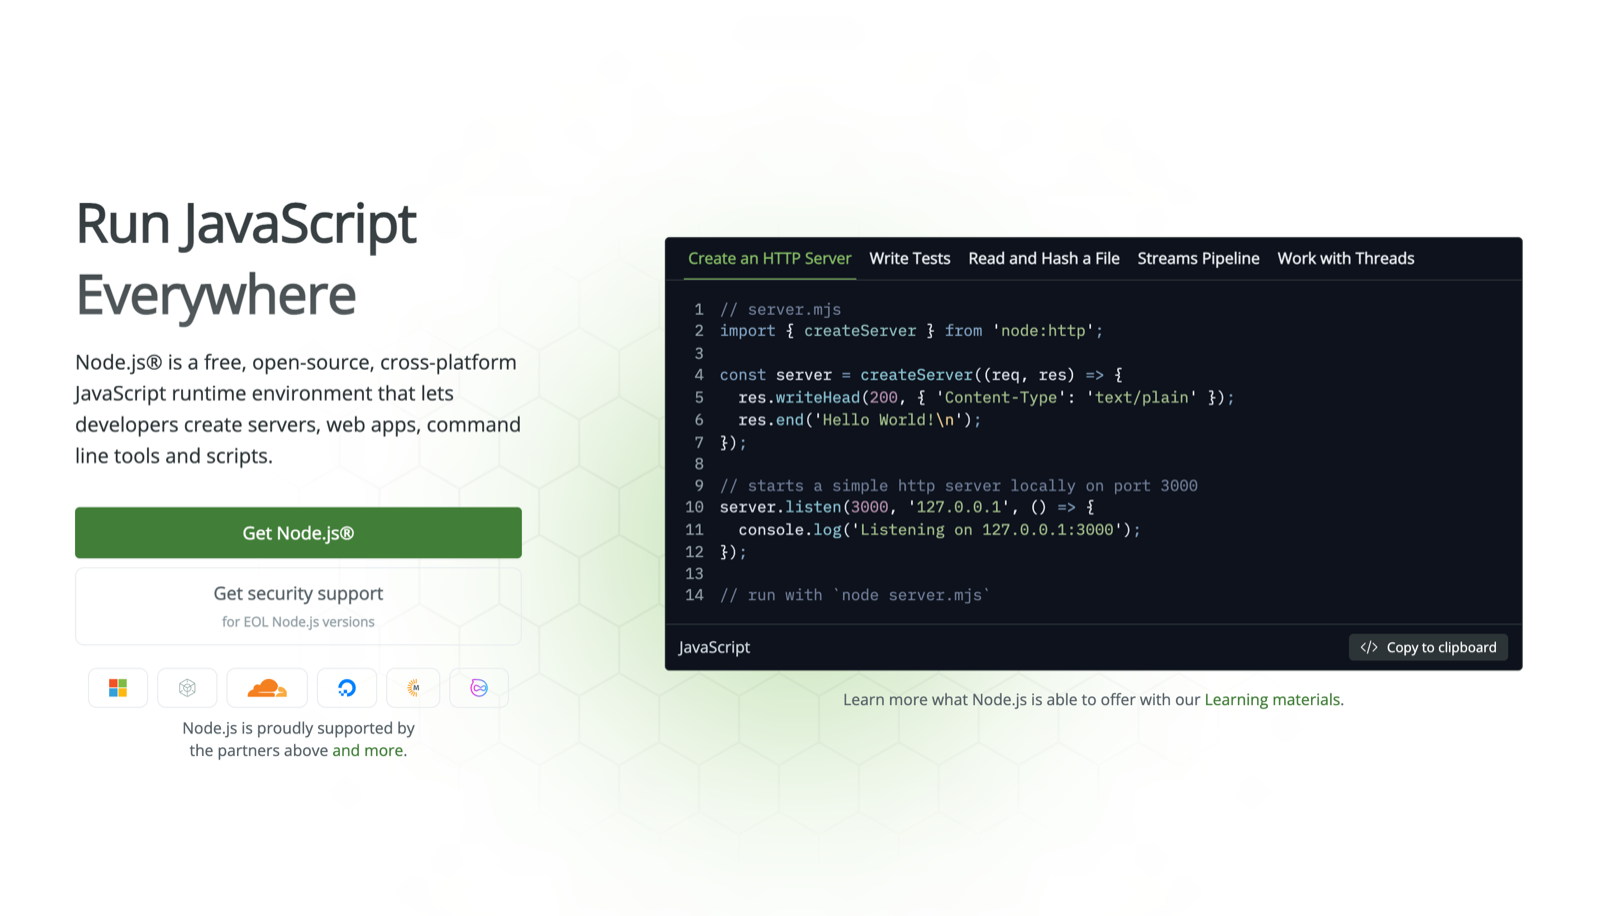
Claude Code requires a Node.js environment to run.
Steps to install Node.js
- Open your browser and go to https://nodejs.org/
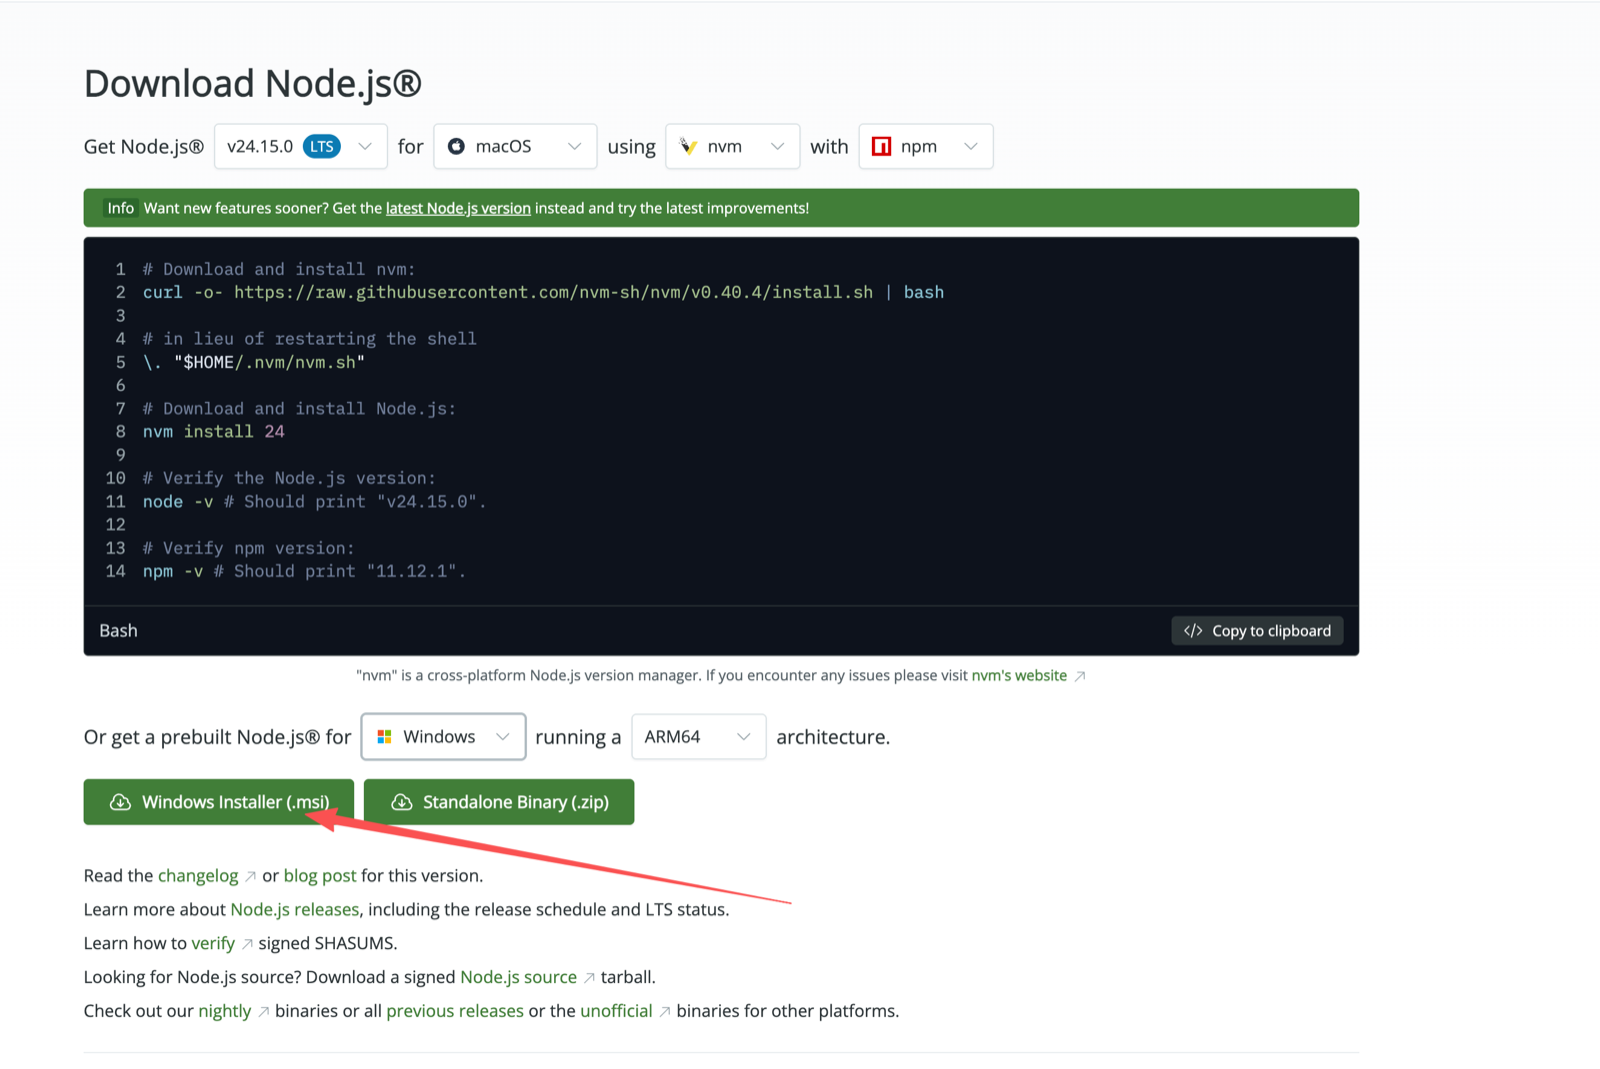
- Click the "LTS" version to download (the long-term support version is recommended)
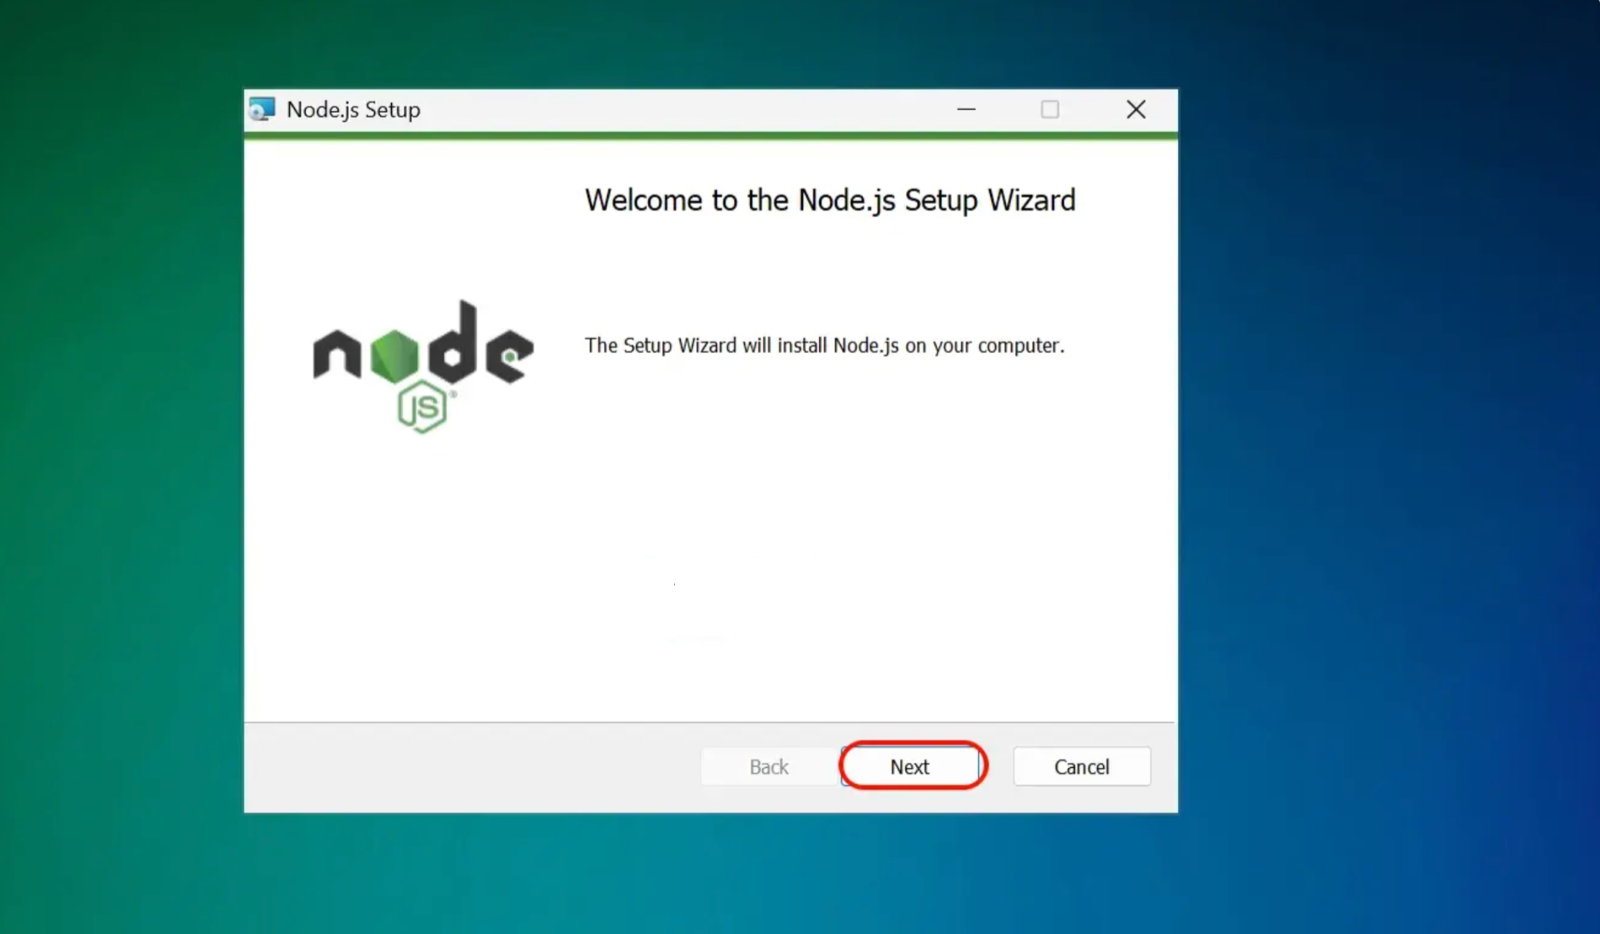
- Once downloaded, double-click the .msi file
- Follow the installation wizard to complete the installation, keeping the default settings
Notes for Windows
- We recommend using PowerShell instead of CMD
- If you run into permission issues, try running as administrator
- Some antivirus software may produce false positives, in which case you need to add it to the whitelist
Verify the installation
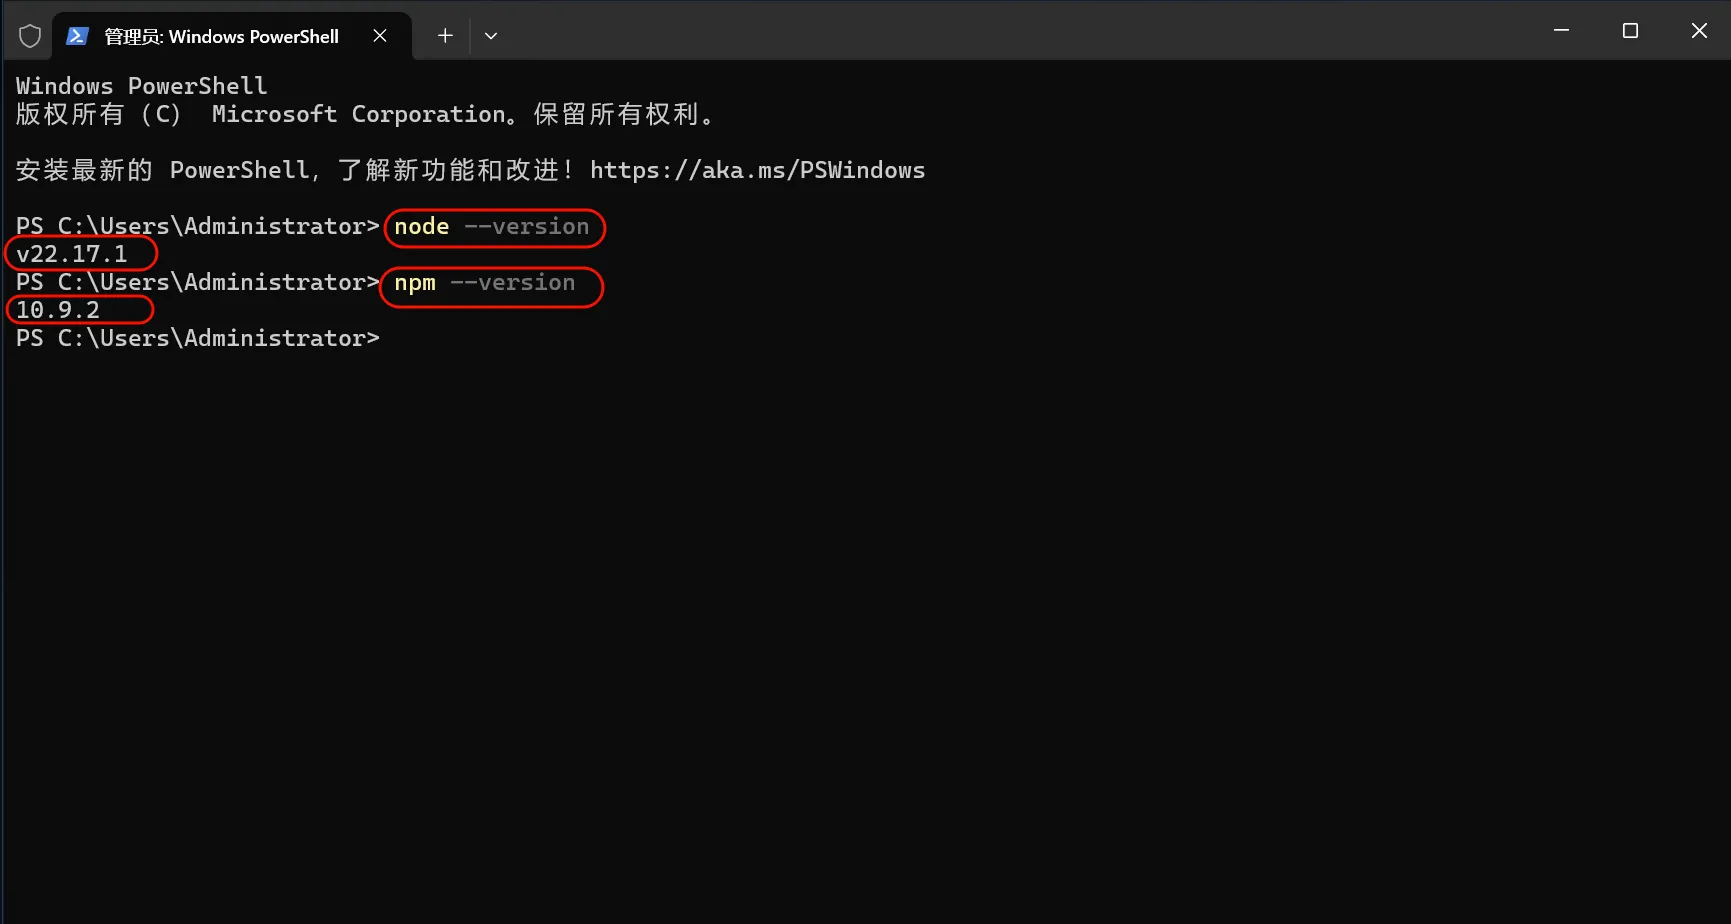
After installation, open PowerShell or CMD and enter the following commands:
node --version
npm --version
If a version number is displayed, the installation was successful.
2. Install Git Bash
Notes for Windows
On Windows, you need to use Git Bash to install Claude Code. After installation, setting the environment variables and using Claude Code is still done in regular PowerShell or CMD.
Download and install Git for Windows
- Go to https://git-scm.com/downloads/win
- Click "Download for Windows" to download the installer
- Run the downloaded .exe installer
- Keep the default settings during installation and click "Next" to complete the installation
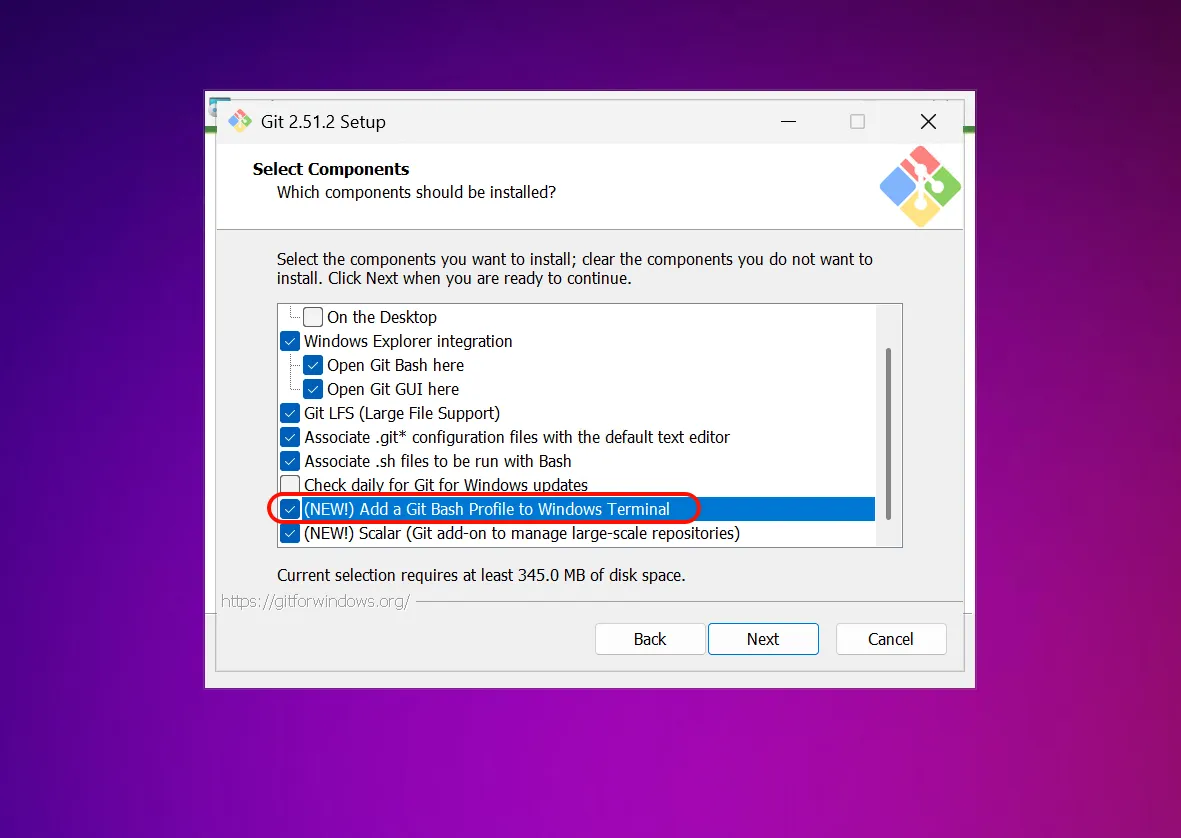
Verify the Git Bash installation
After installation, open Git Bash and enter the following command to verify:
git --versionIf a version number is displayed, the installation was successful.
3. Install Claude Code
Install Claude Code
Open PowerShell and run the following command:
npm install -g @anthropic-ai/claude-codeThis command downloads and installs the latest version of Claude Code from the official npm registry.
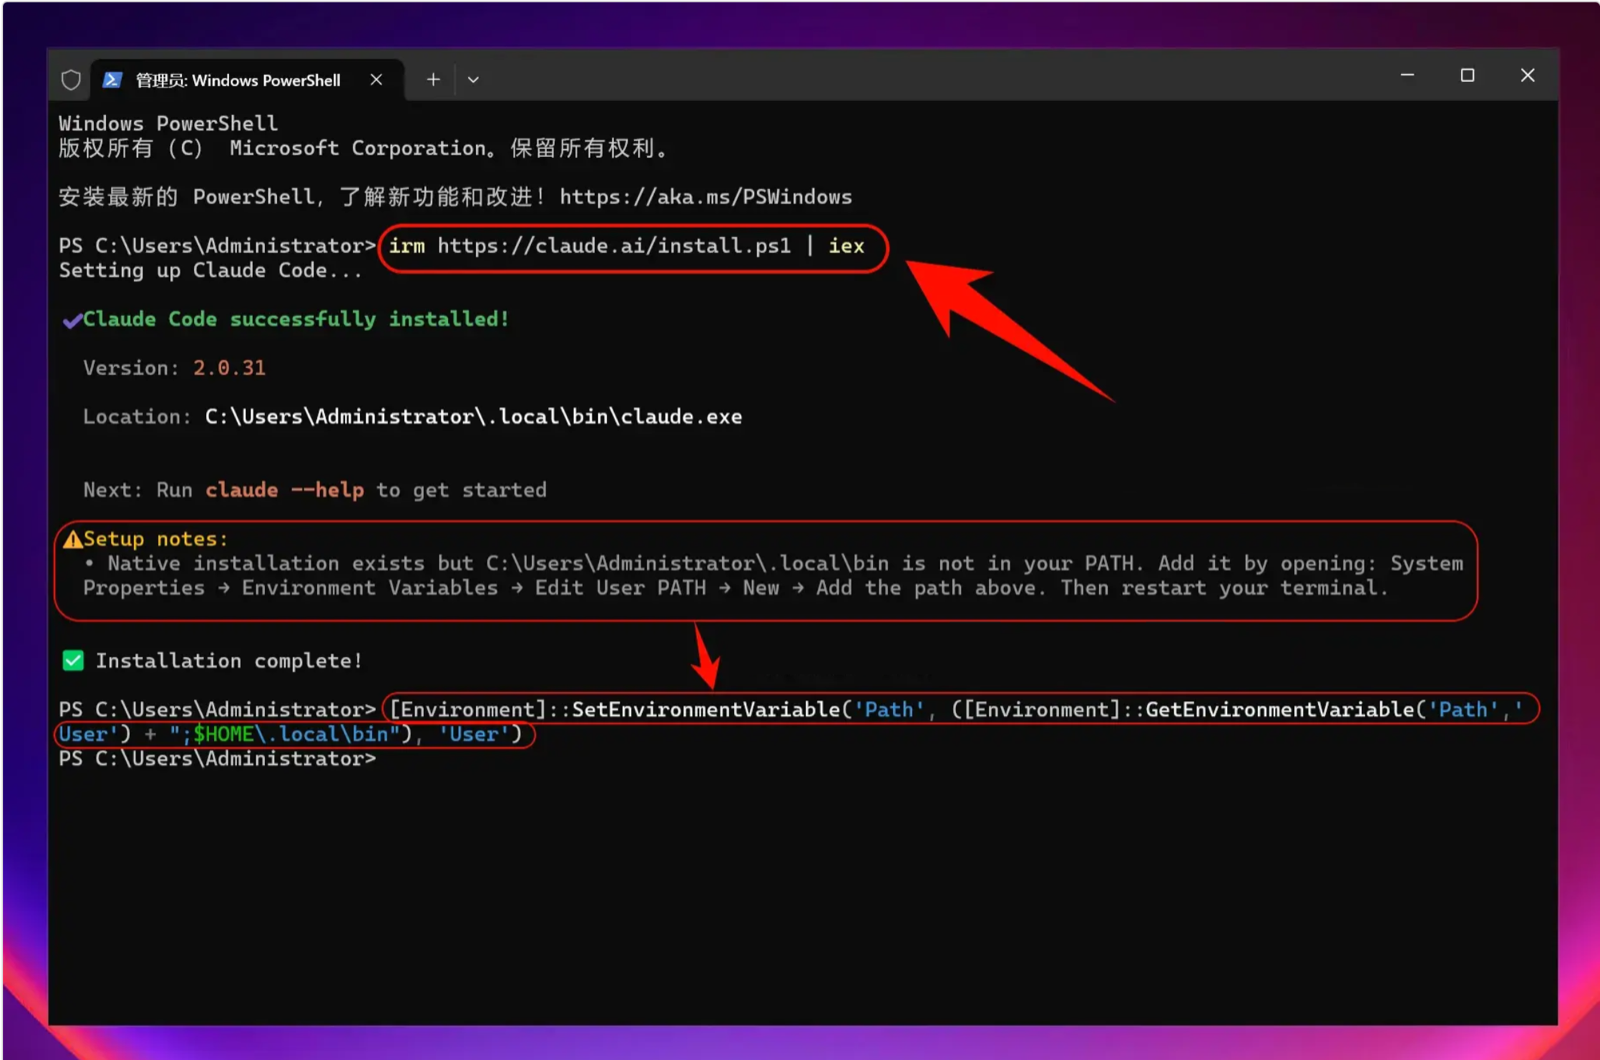
Add ~/.local/bin to PATH (only if prompted)
[Environment]::SetEnvironmentVariable('Path', ([Environment]::GetEnvironmentVariable('Path','User') + ";$HOME\.local\bin"), 'User')Verify the Claude Code installation
After installation, enter the following command to check whether it was installed successfully:
claude --versionIf a version number is displayed, congratulations! Claude Code has been installed successfully.
4. Set the environment variables
One-click setup command (Windows)
To let Claude Code connect to your relay service, you need to set several environment variables:
curl -fsSL https://your-domain/cli/install.sh | sh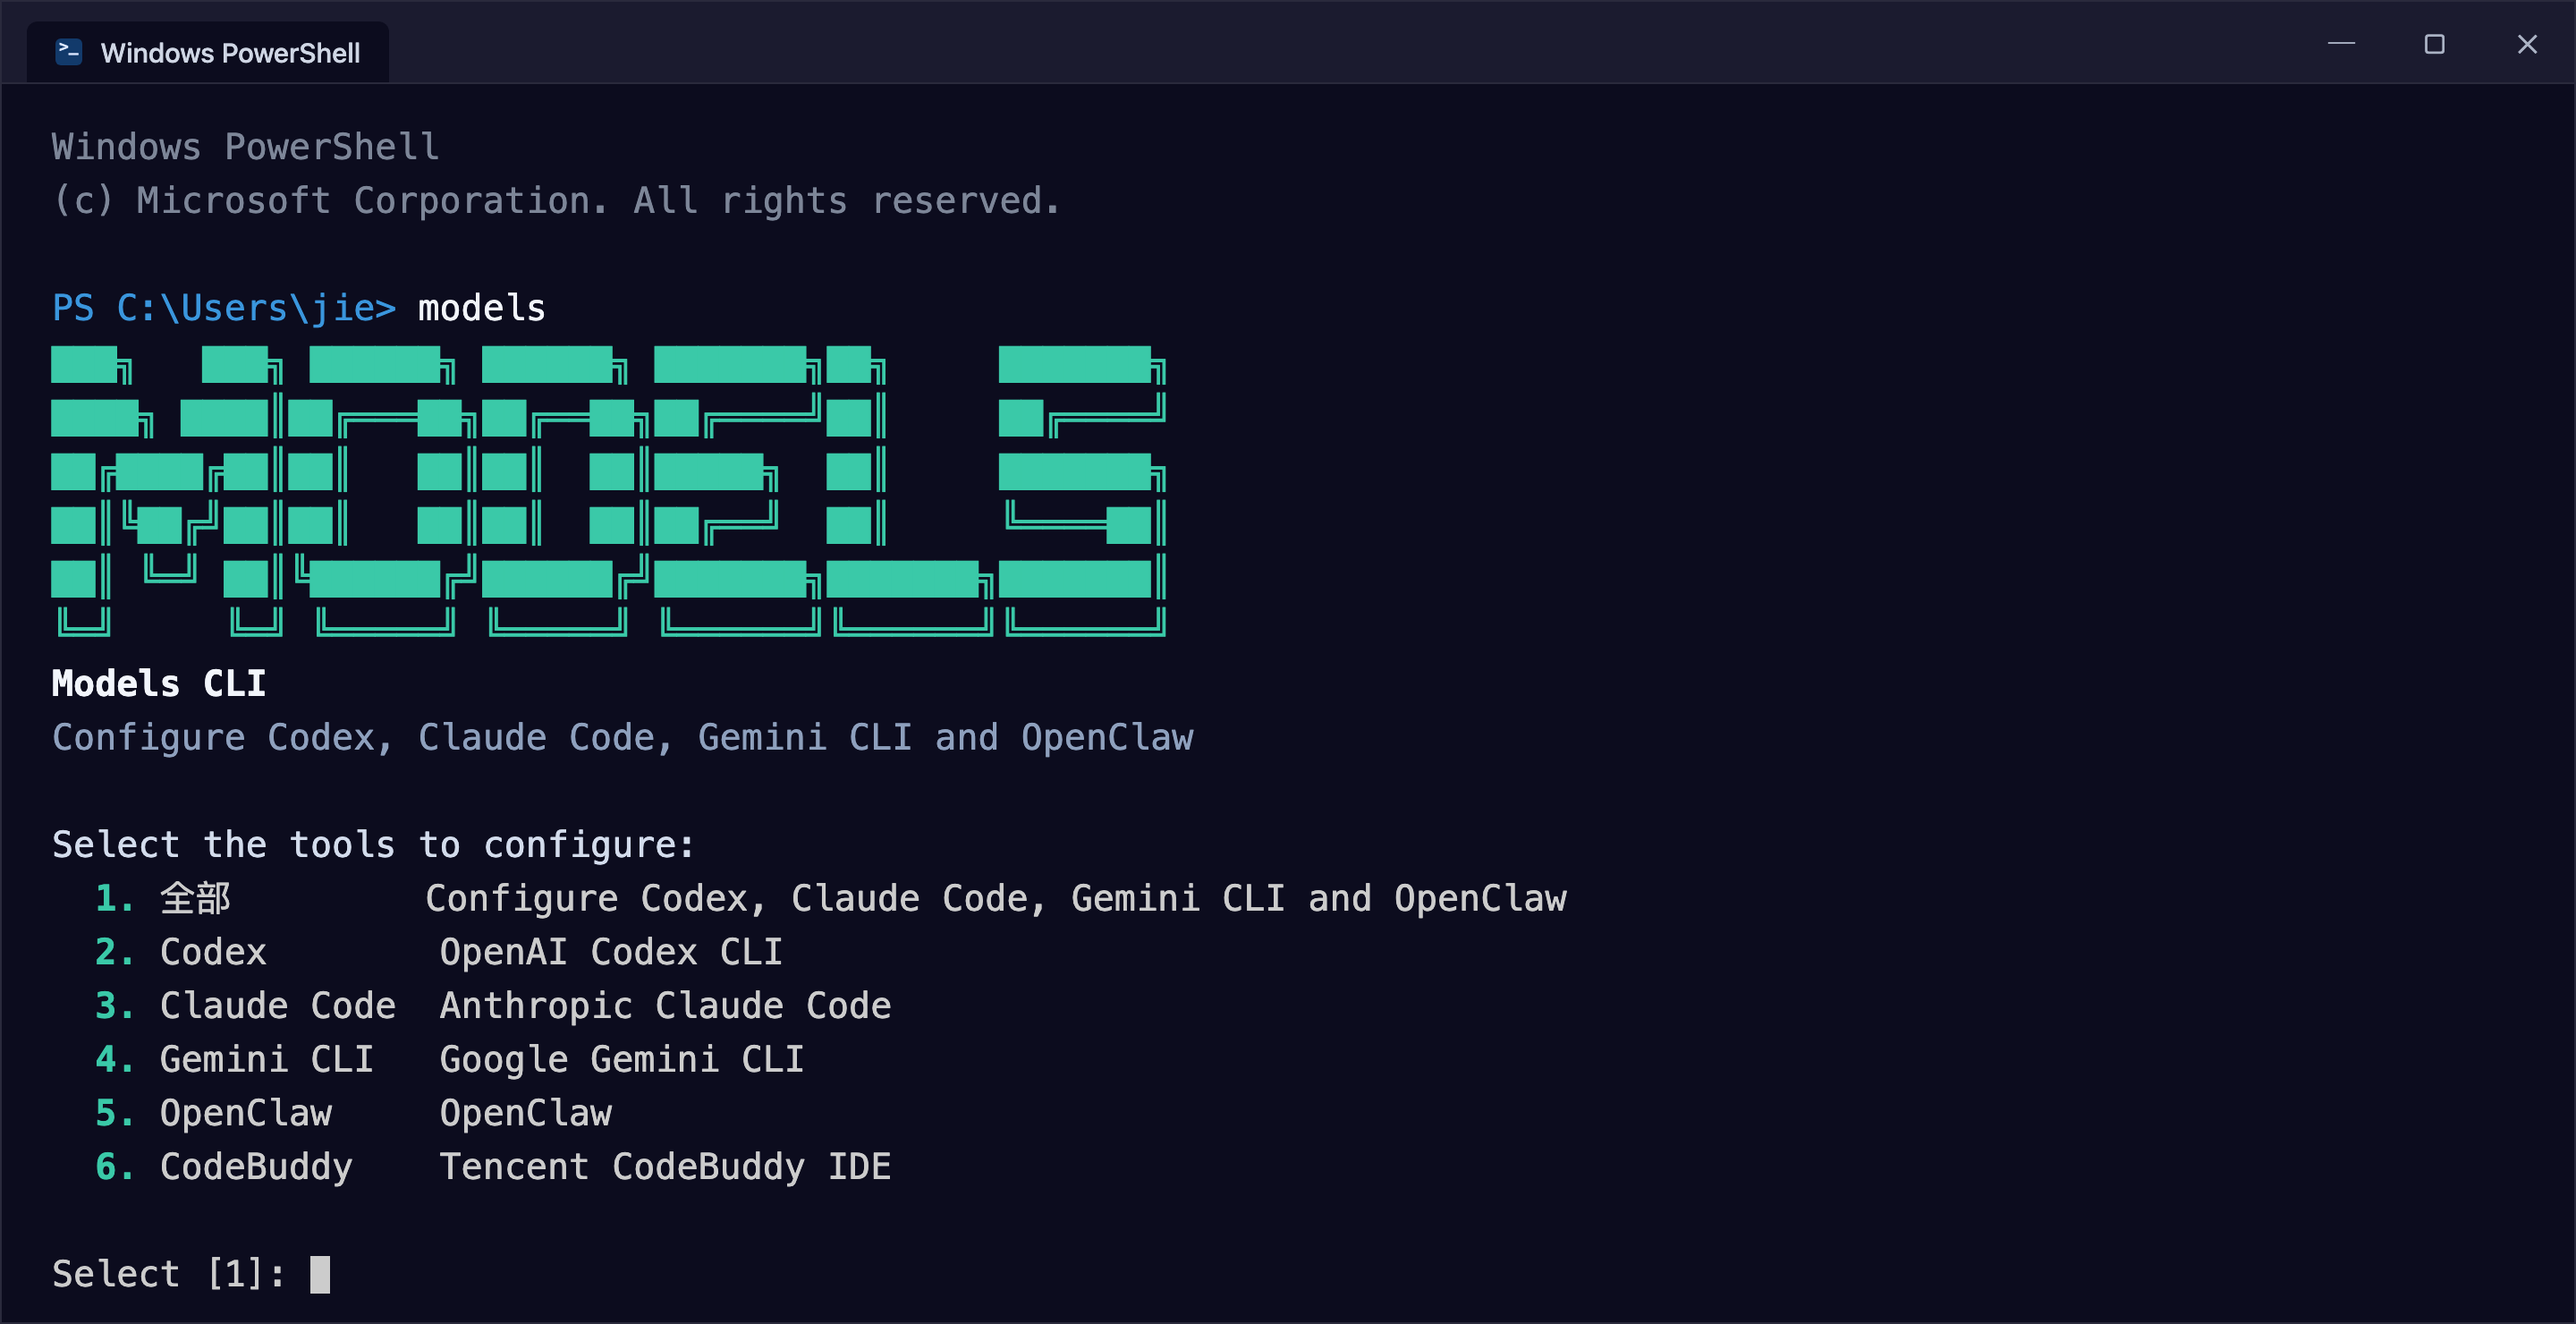
5. Start using Claude Code
You can now start using Claude Code!
Launch Claude Code
Open PowerShell and launch Claude Code directly:
claudeTo use it in a specific project:
# Go to your project directory
cd C:\path\to\your\project

# Launch Claude Code
claude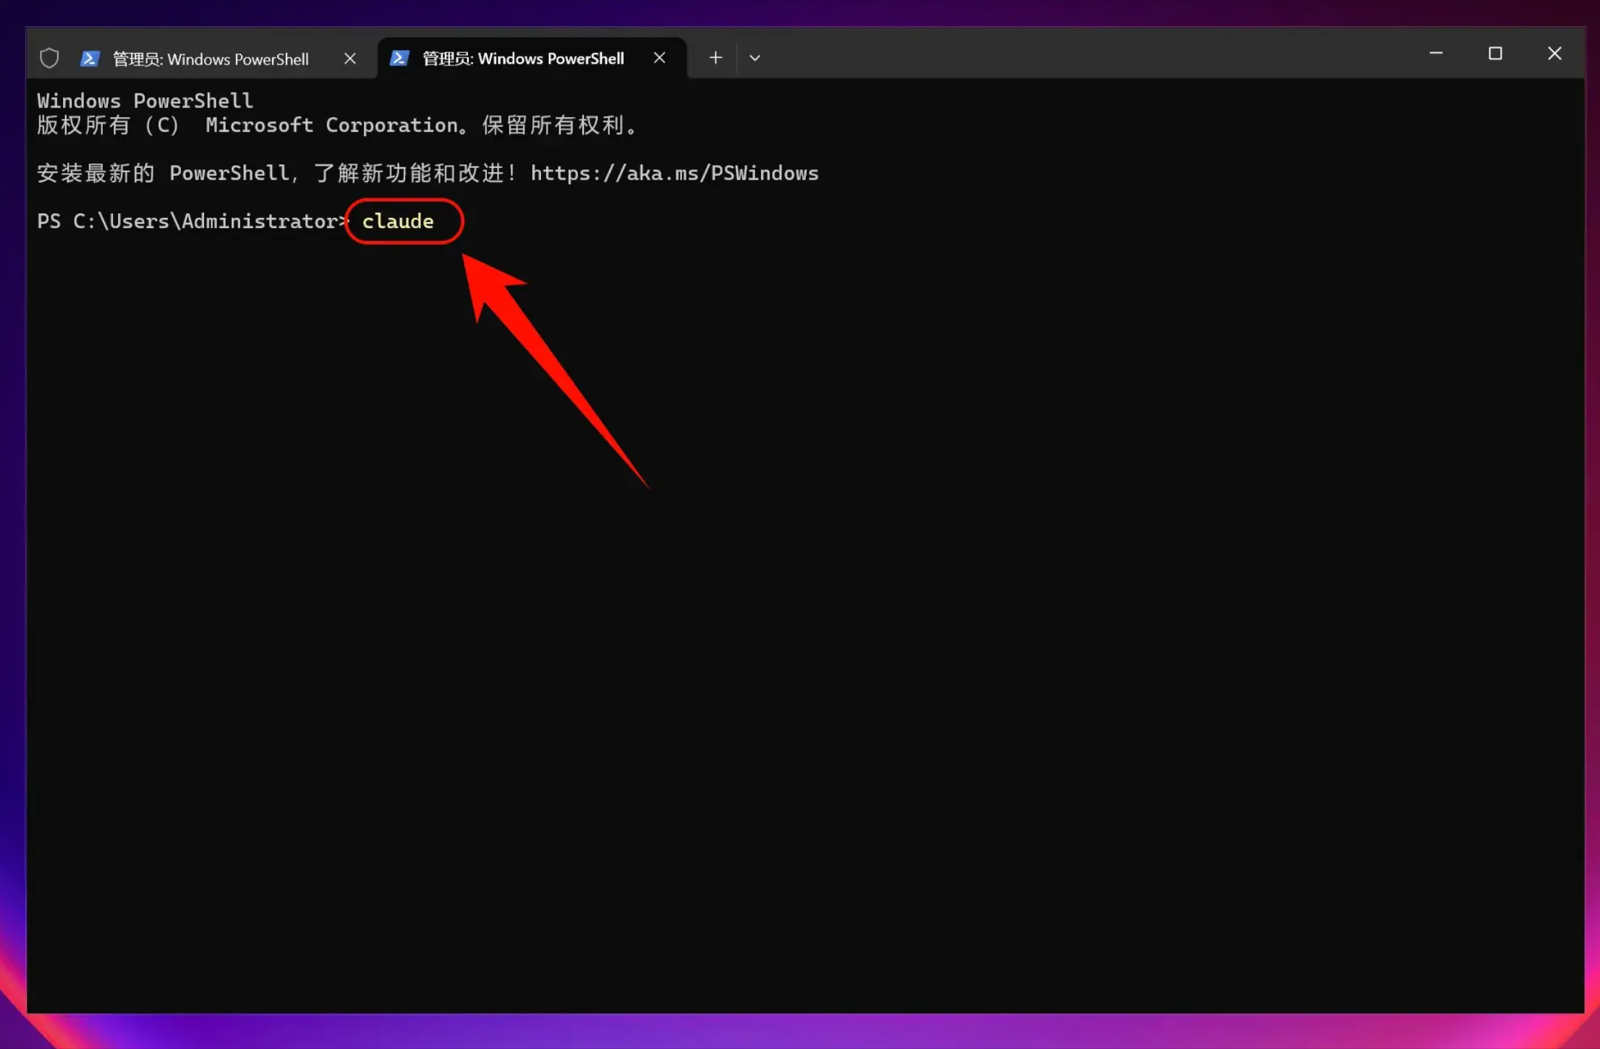
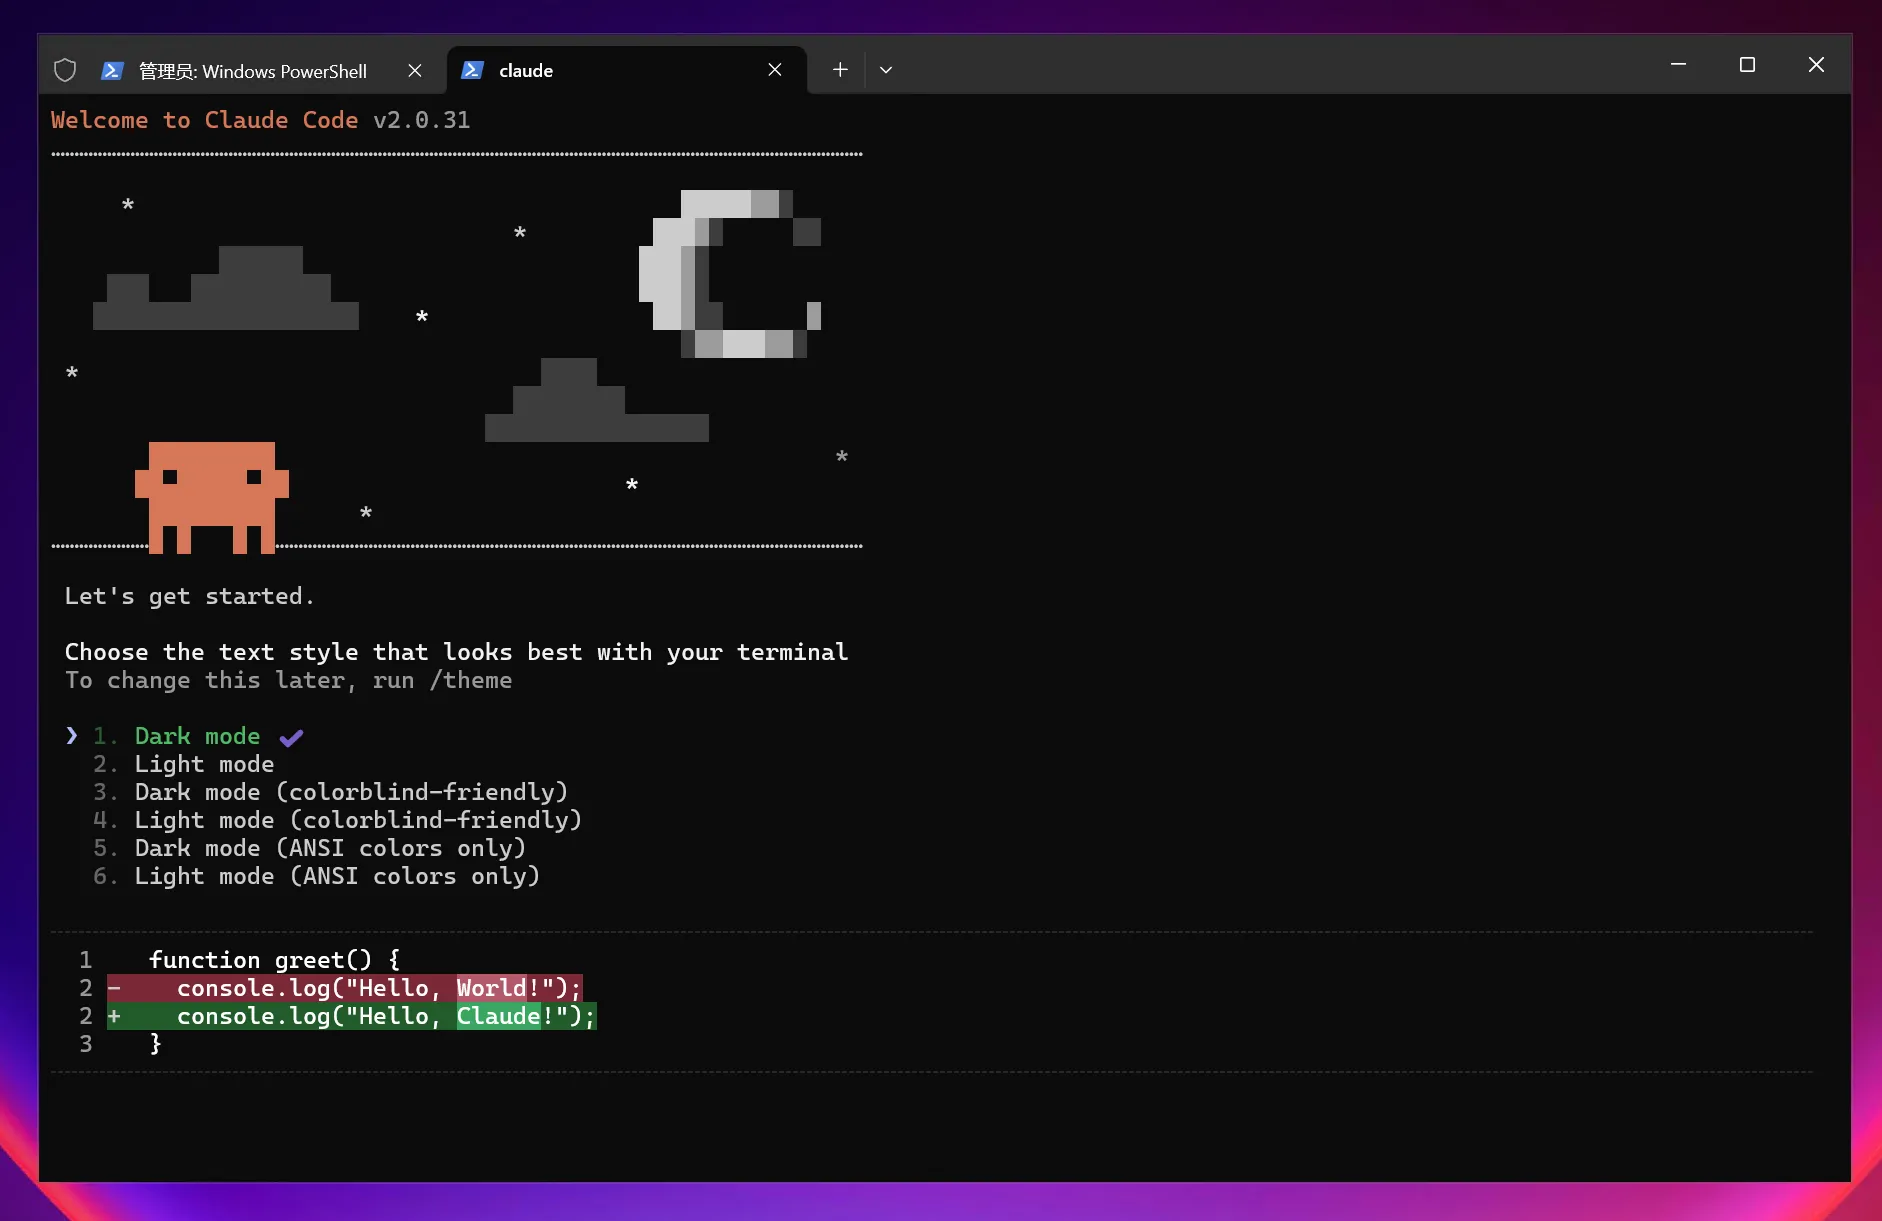
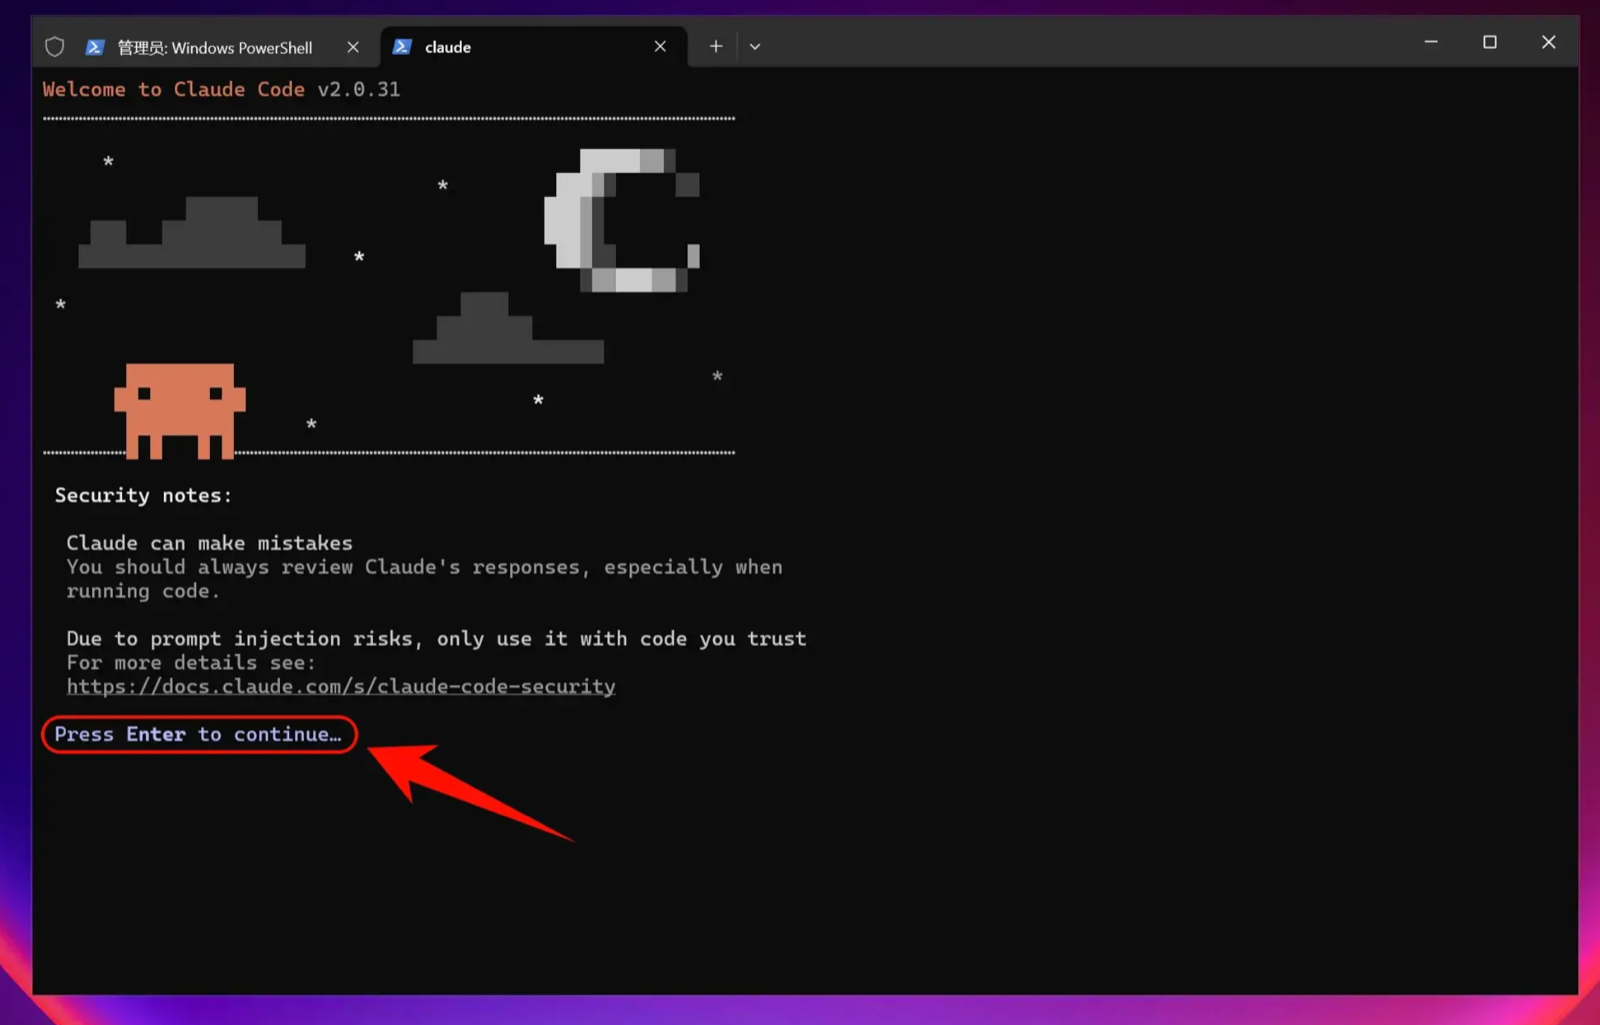
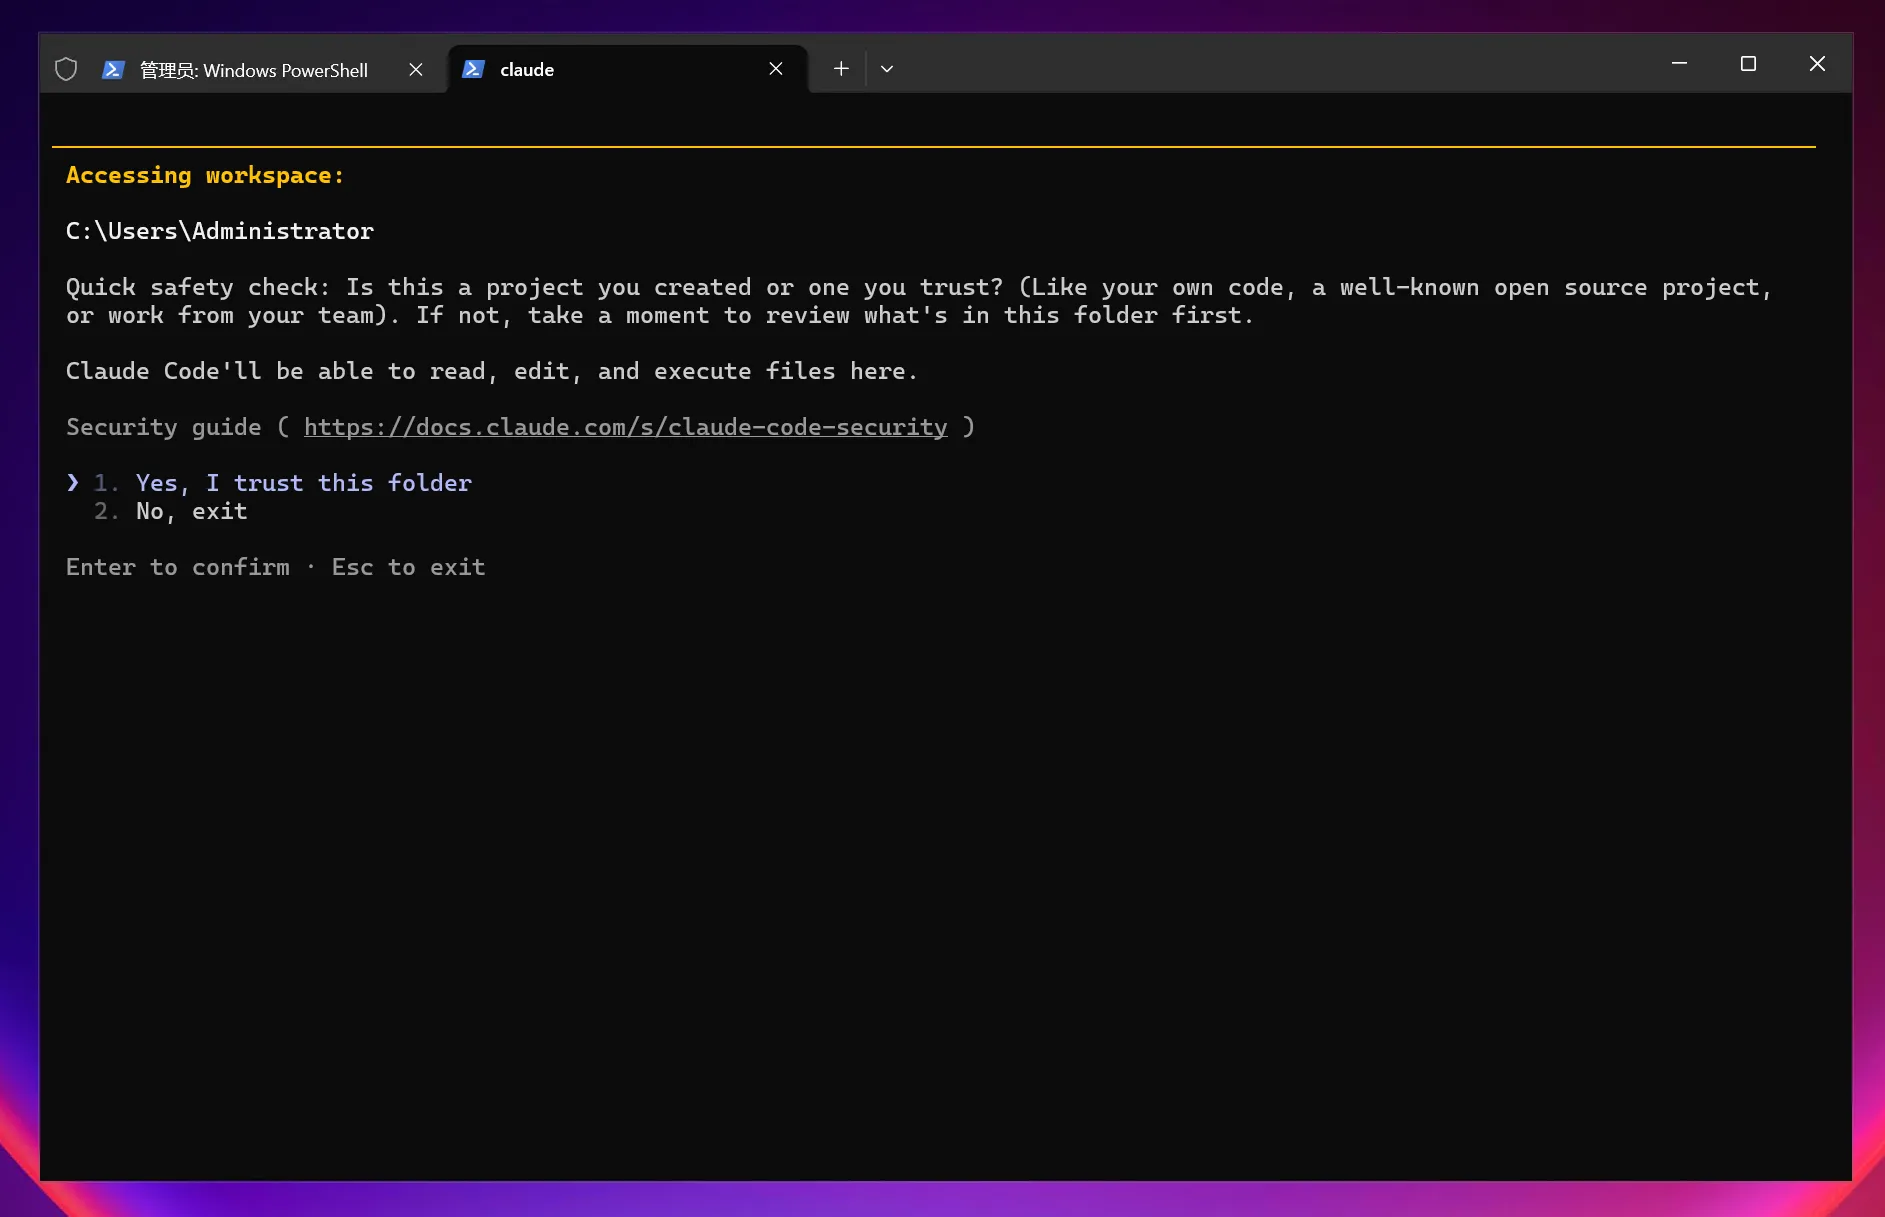
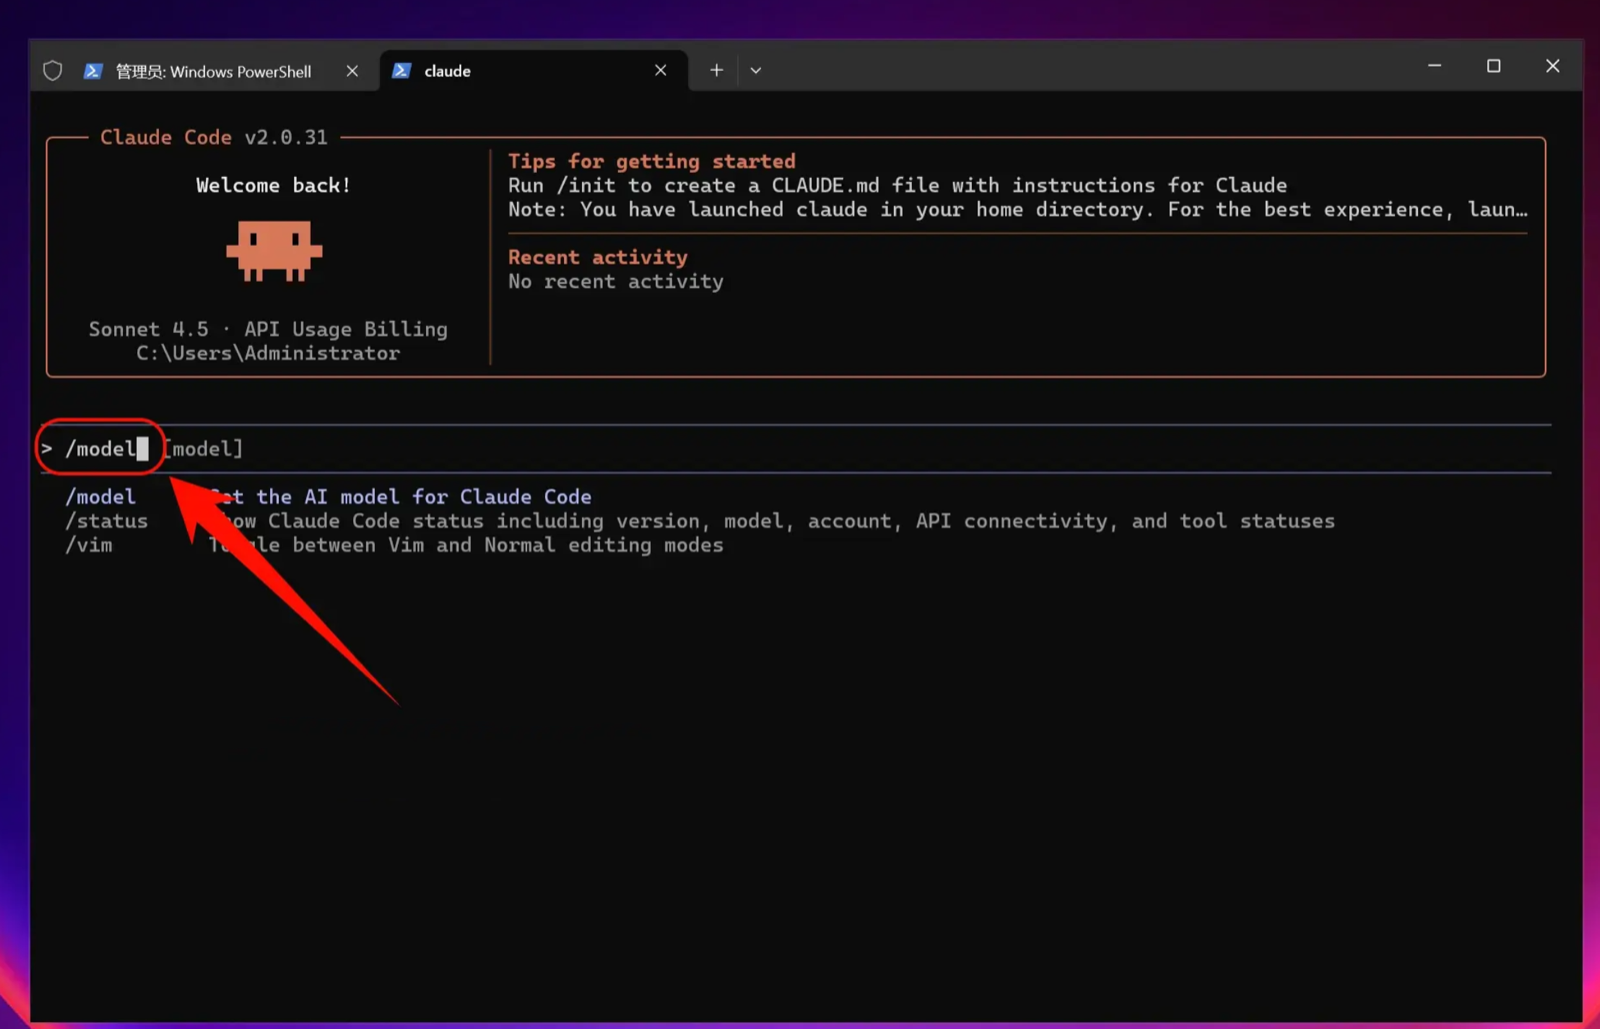
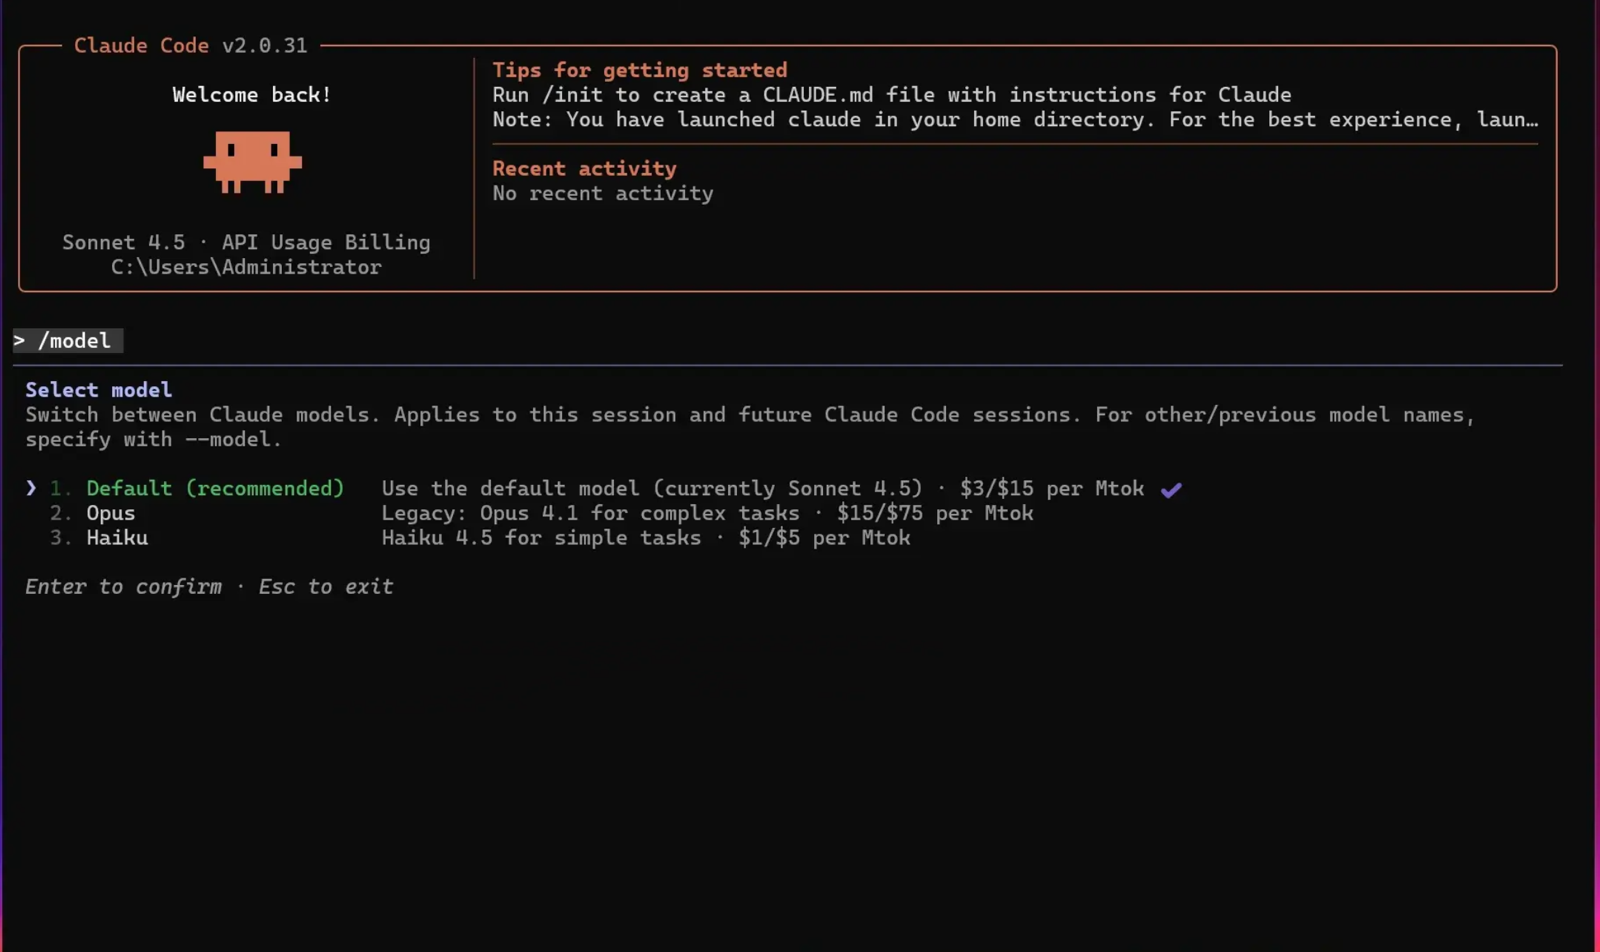
Select a model
Enter the command:
/modelPress Enter to open it and select a model; the default setting is usually fine.
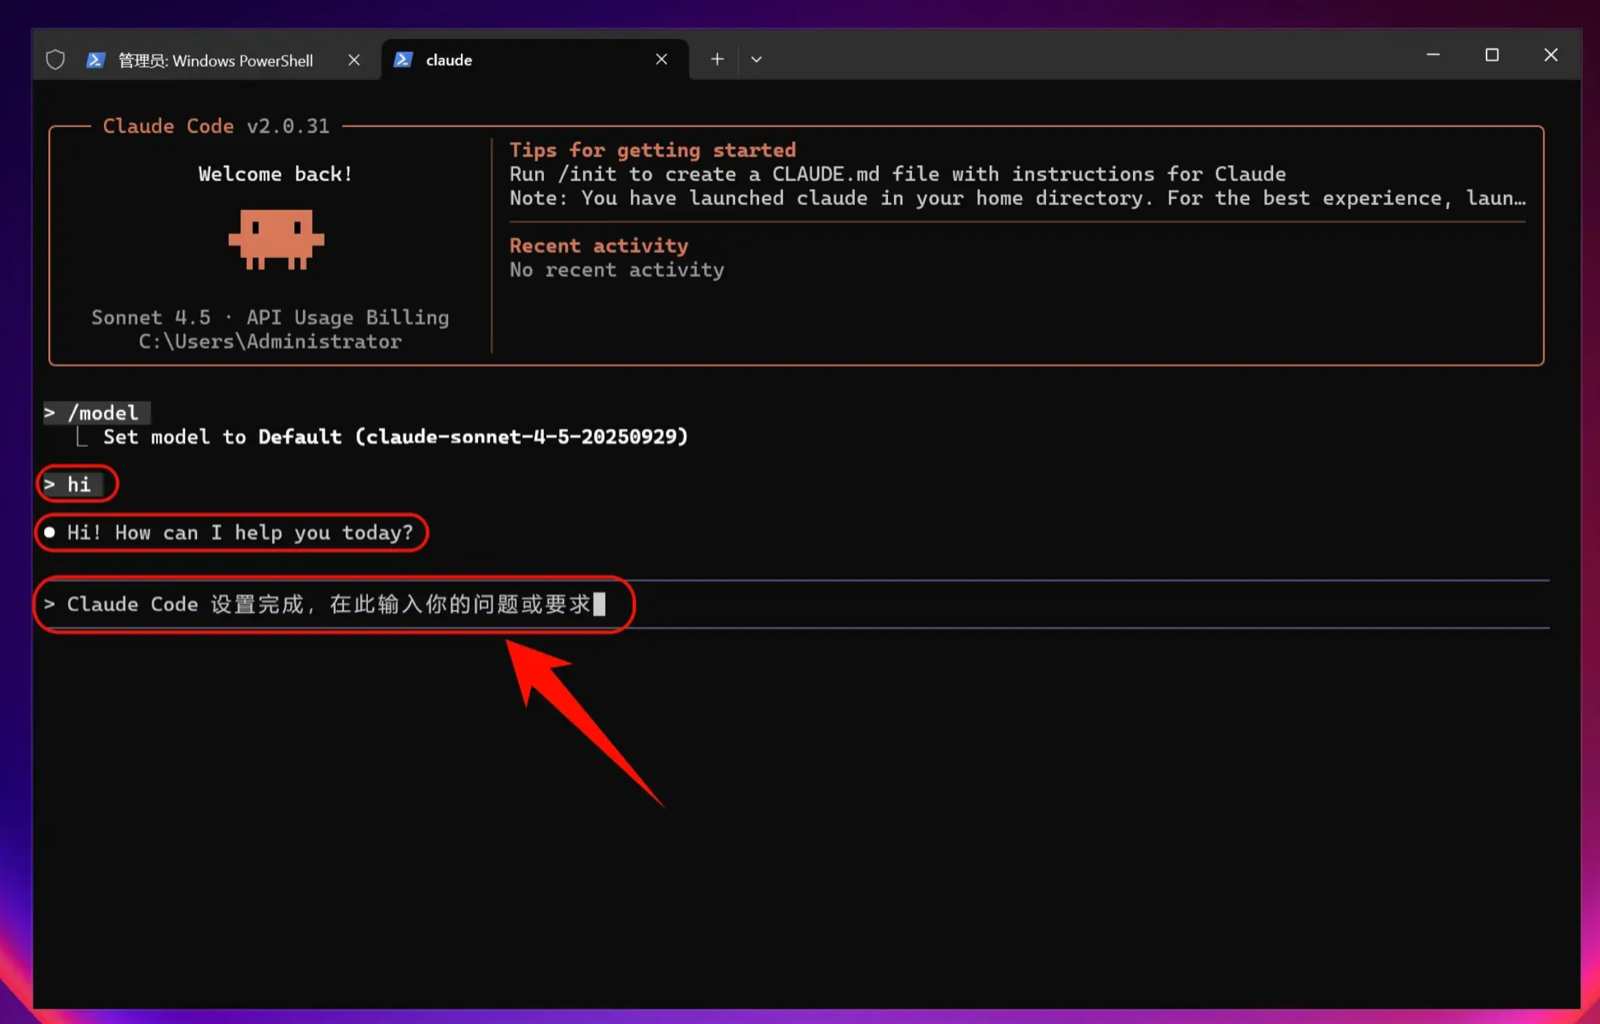
Note: After modifying the environment variables, all models (including the official preset models) will use your custom endpoint instead of your official account quota.
Step-by-step Guide for macOS
1. Install the Claude Code CLI
Open Terminal.app
Install Claude Code
Open the terminal and run the following command:
curl -fsSL https://claude.ai/install.sh | bashOptional: run the provided command if prompted
echo 'export PATH="$HOME/.local/bin:$PATH"' >> ~/.bashrc && source ~/.bashrc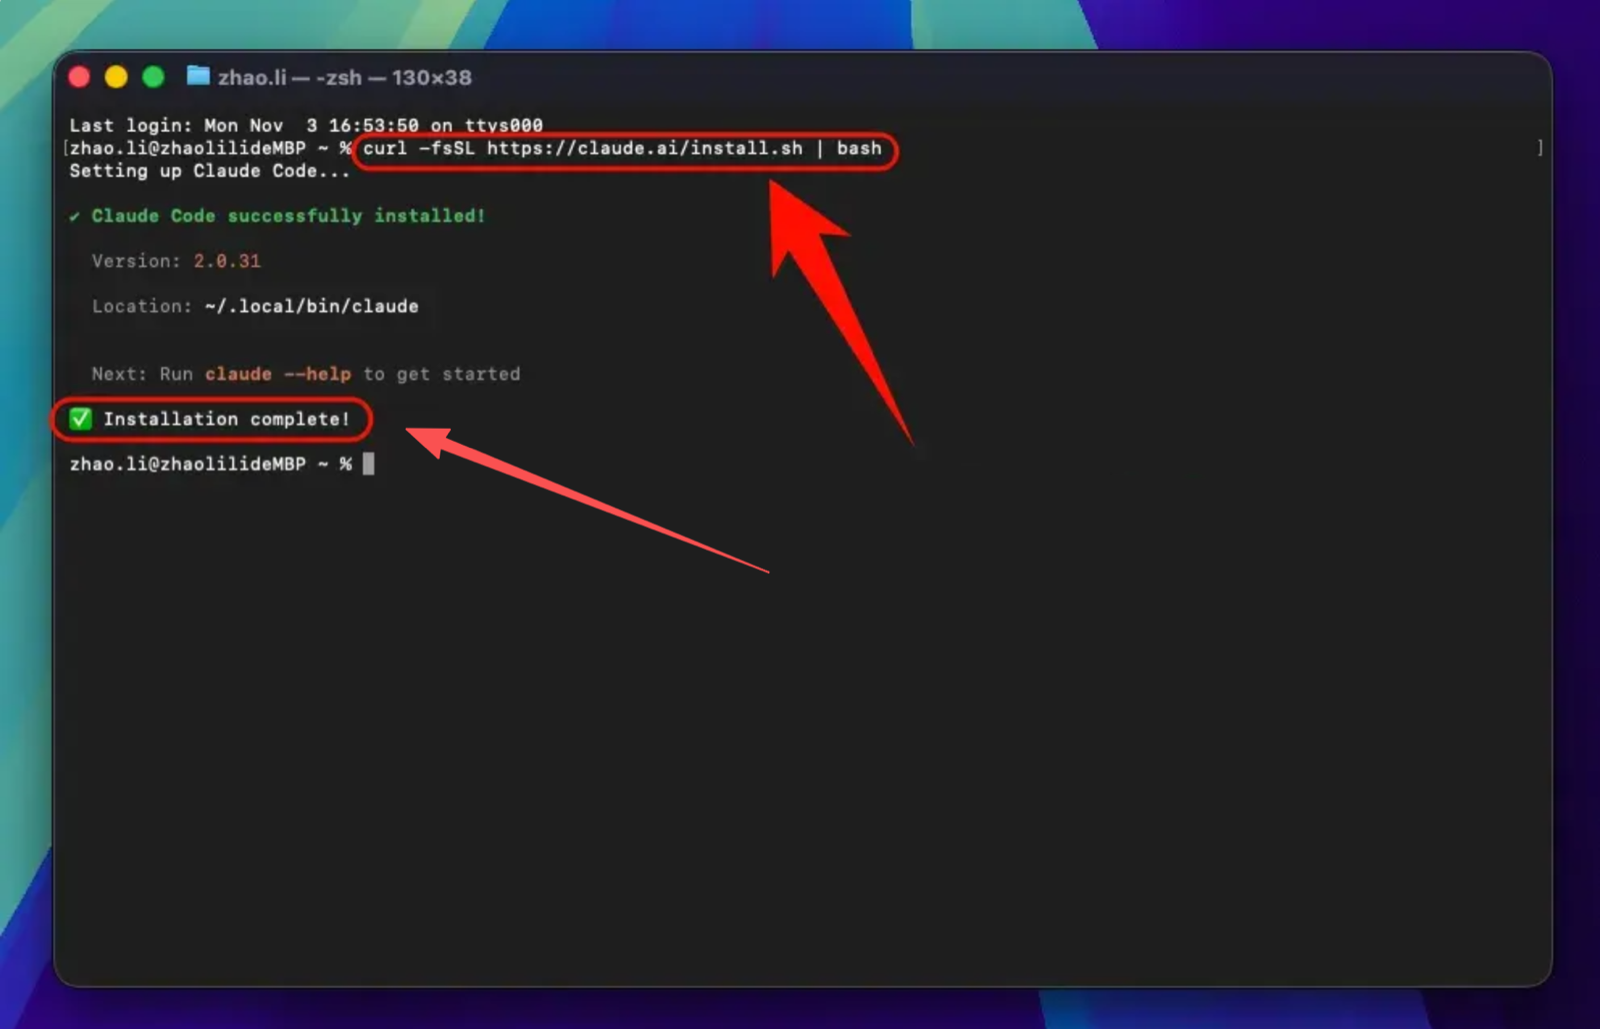
2. Set the environment variables
To let Claude Code connect to a third-party relay service, you need to set environment variables:
One-click setup of the Claude Code environment variables
Enter the command:
curl -fsSL https://your-domain/cli/install.sh | sh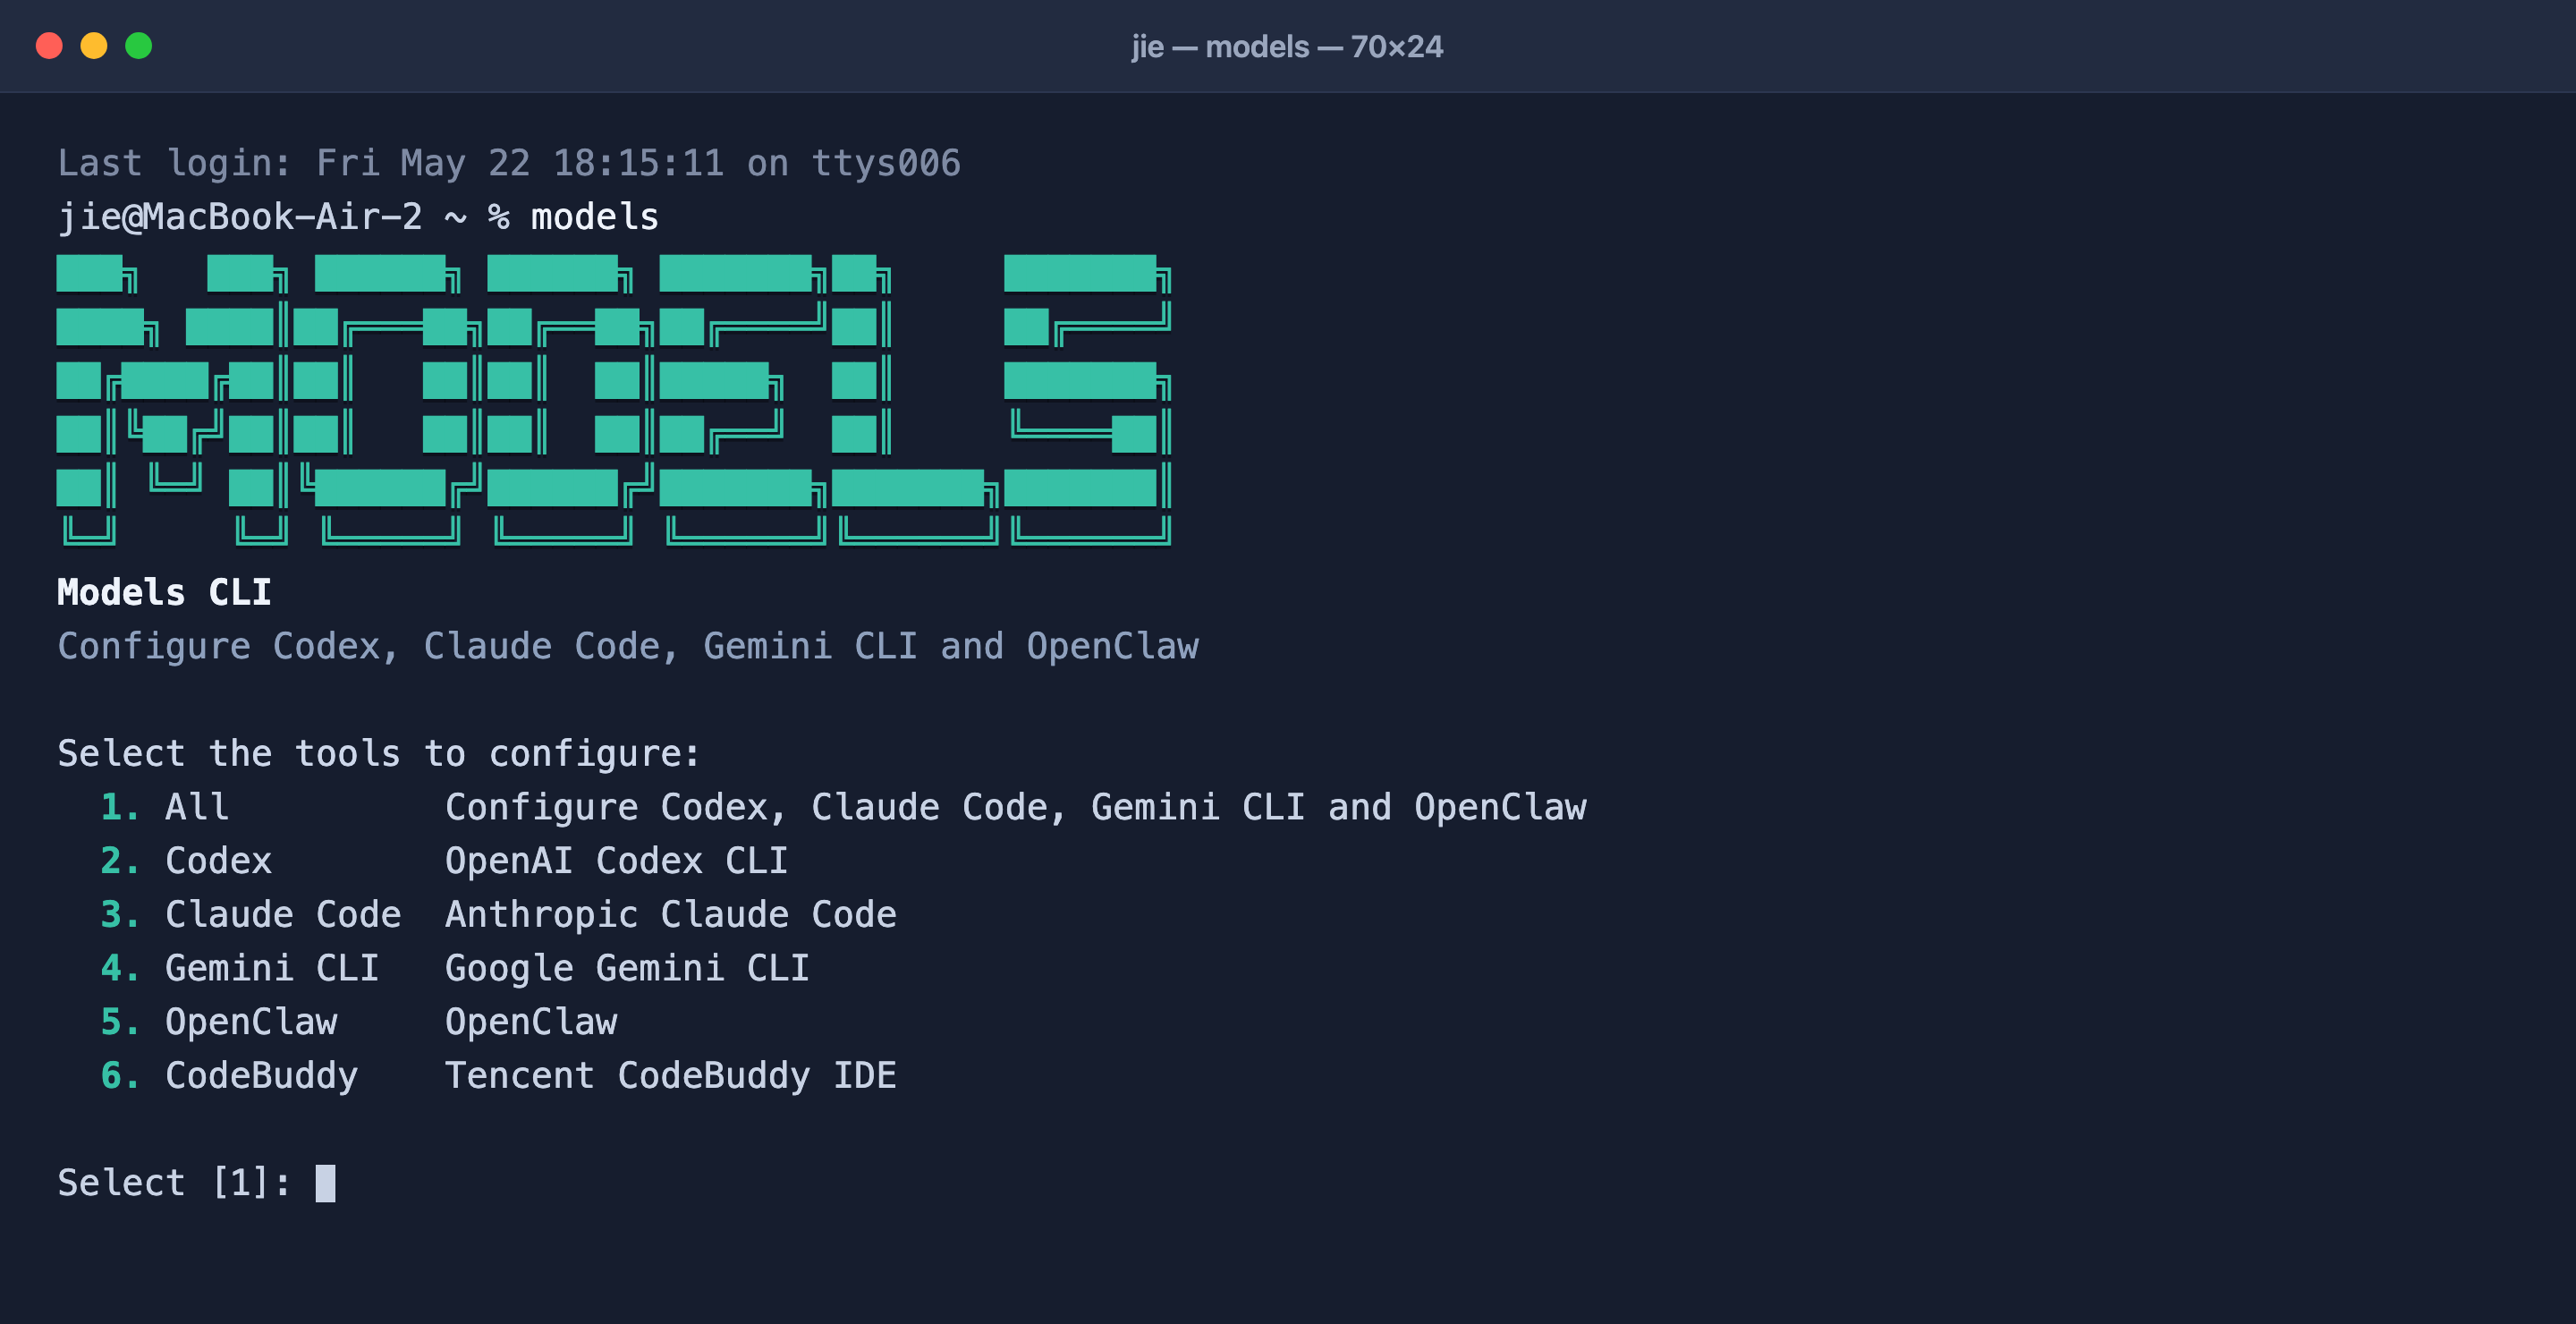
Verify the Claude Code installation
After installation, enter the following command to check whether it was installed successfully:
claude --versionIf a version number is displayed, congratulations! Claude Code has been installed successfully.
3. Start using Claude Code
You can now start using Claude Code!
Launch Claude Code
Launch Claude Code directly:
claudeTo use it in a specific project:
# Go to your project directory
cd /path/to/your/project

# Launch Claude Code
claude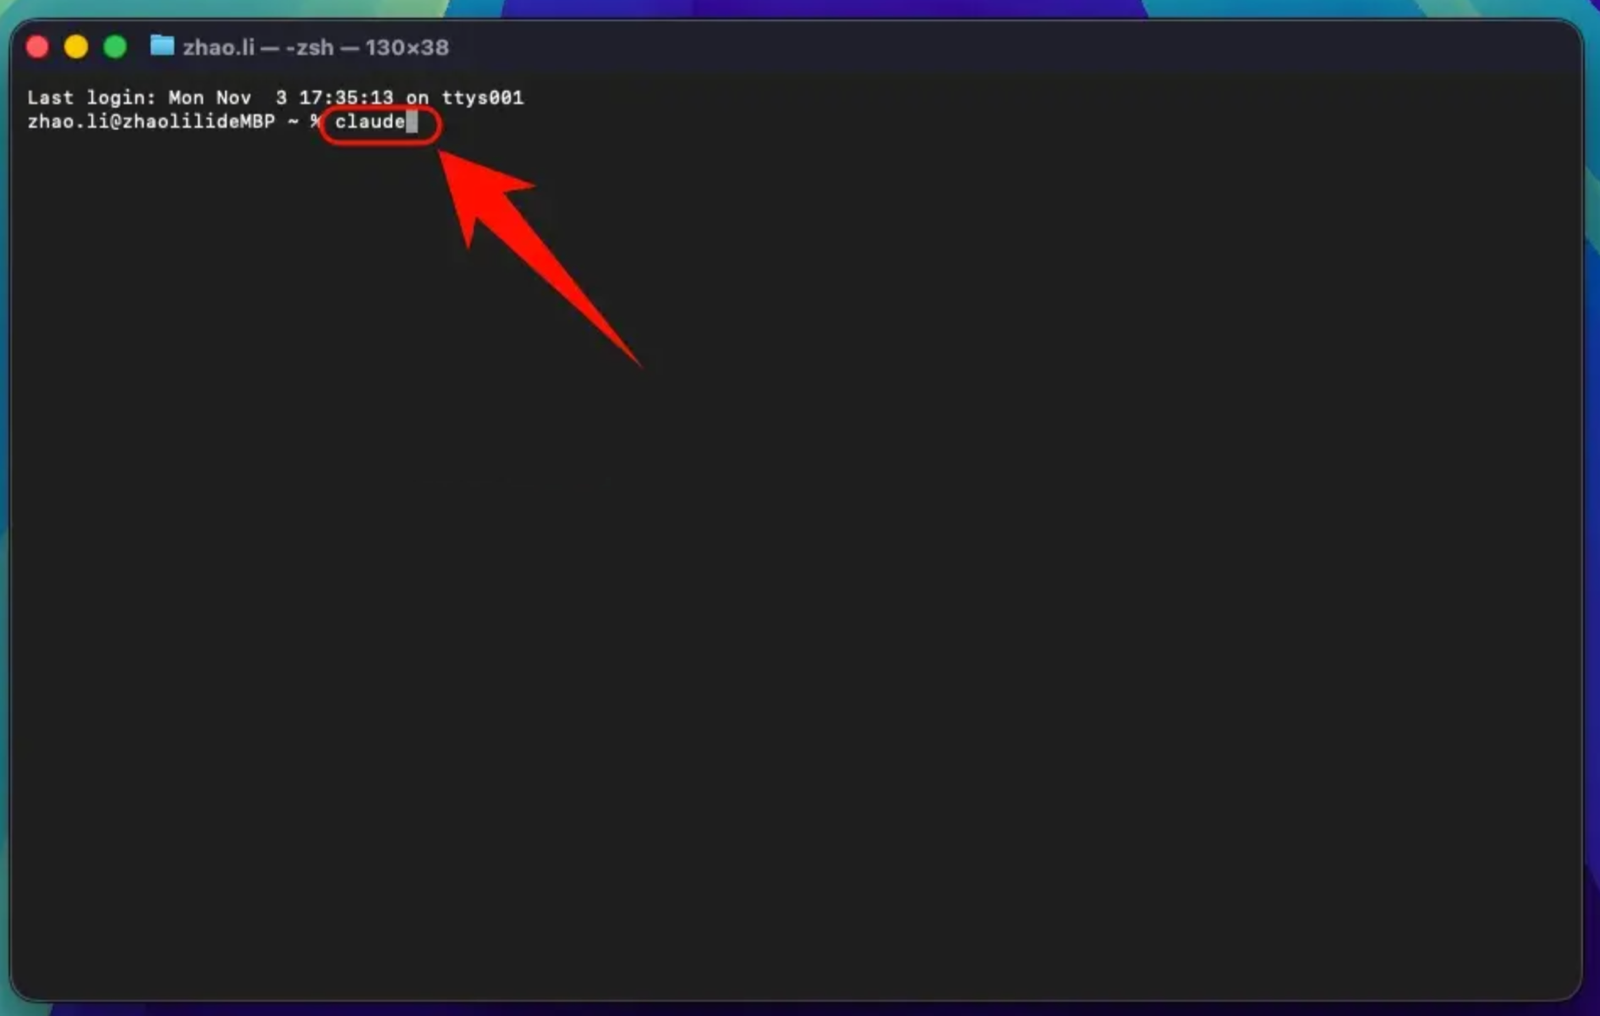
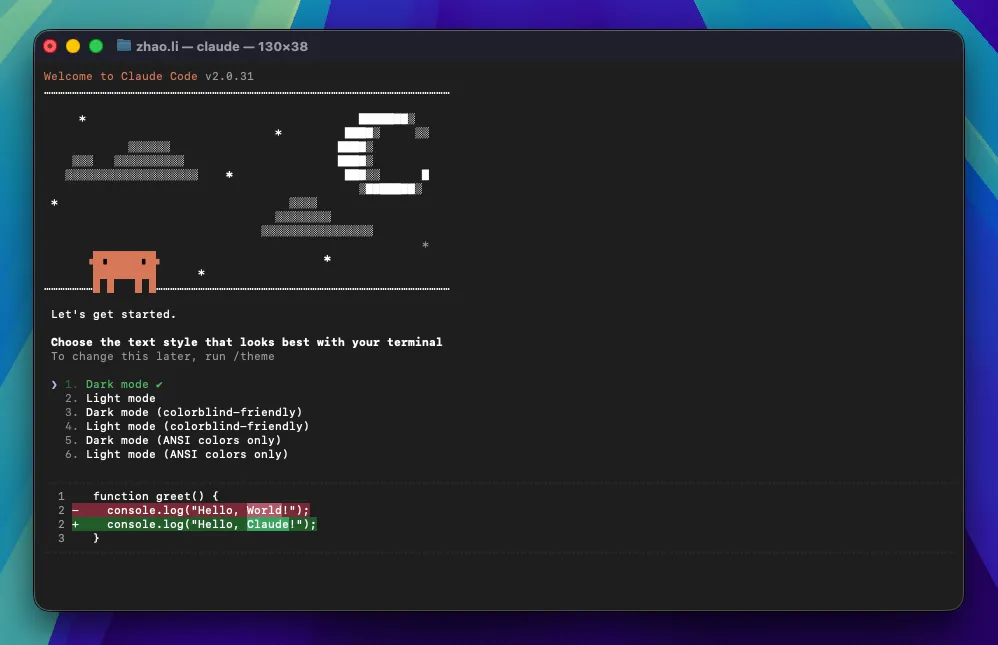
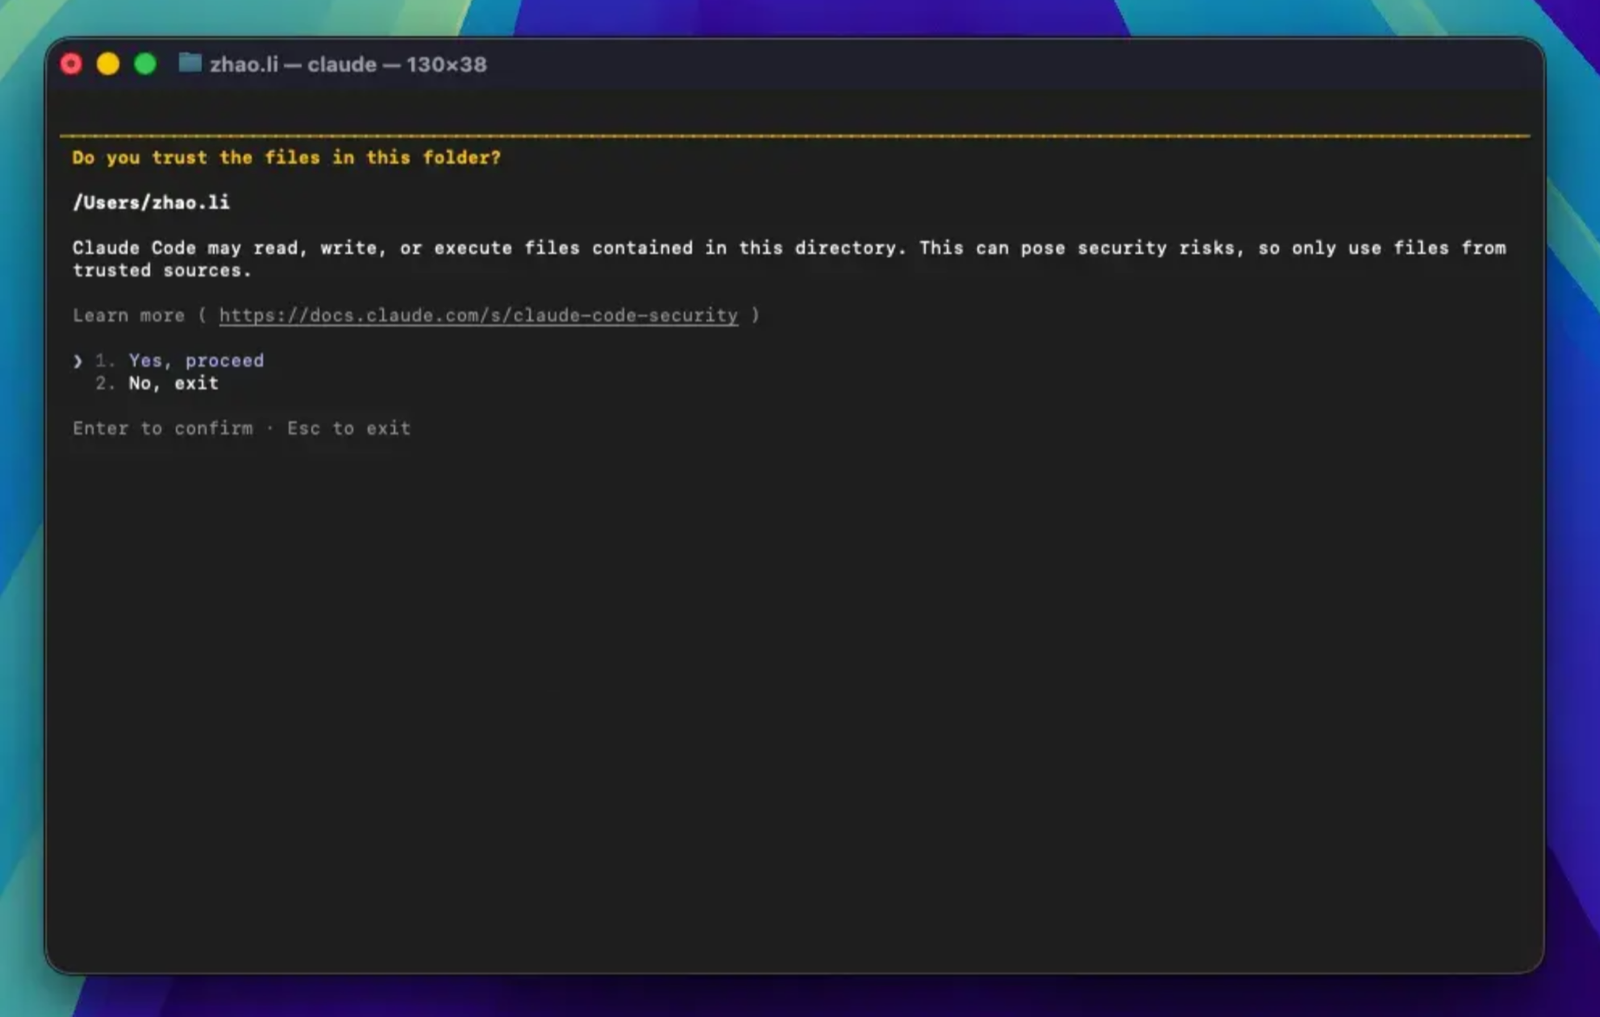
Select a model (optional)
Enter the command:
/modelPress Enter to open it and select an official model; the default model is usually fine.
Note: After modifying the
ANTHROPIC_BASE_URLenvironment variable, all models (including the official preset models) will use your custom endpoint instead of your official account quota.
4. Troubleshooting on macOS
macOS security settings block it from running
If the system blocks Claude Code from running:
- Open "System Preferences" → "Security & Privacy"
- Click "Open Anyway" or "Allow"
- Or run this in the Terminal:
sudo spctl --master-disable
Step-by-step Guide for Linux
1. Install Claude Code
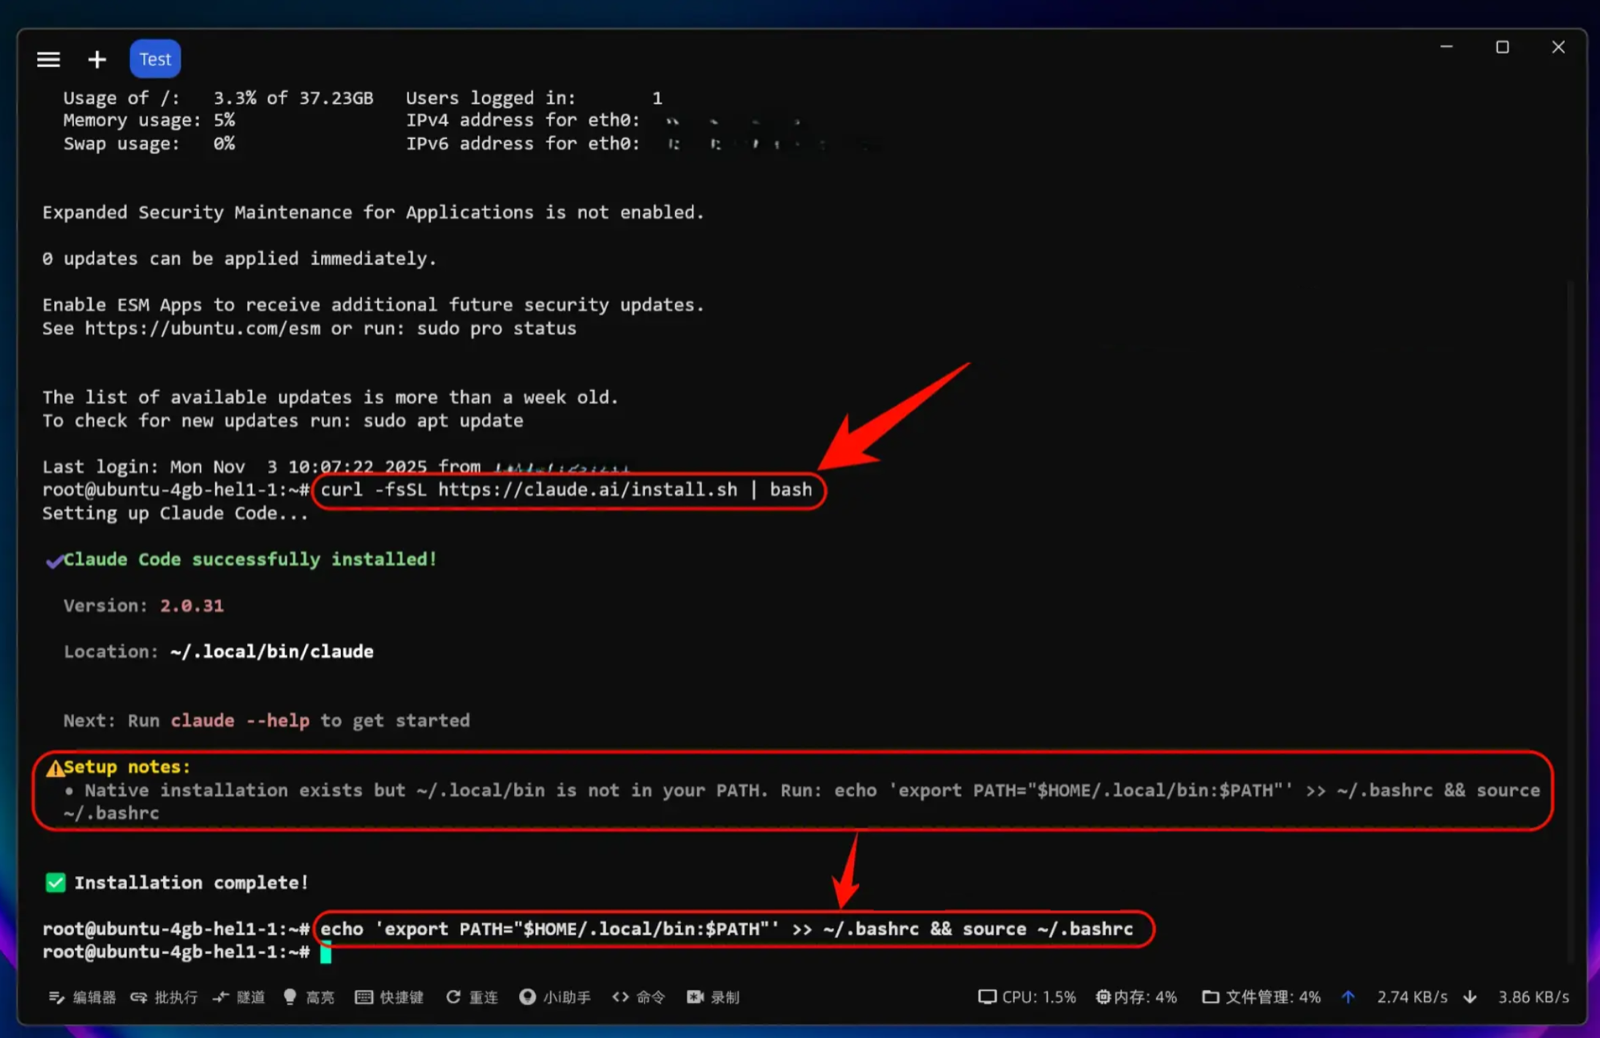
Install Claude Code
Open the terminal and run the following command:
curl -fsSL https://claude.ai/install.sh | bashIf you run into permission issues, you can use sudo:
sudo curl -fsSL https://claude.ai/install.sh | bashVerify the Claude Code installation
After installation, enter the following command to check whether it was installed successfully:
claude --versionIf a version number is displayed, congratulations! Claude Code has been installed successfully.
2. Set the environment variables
To let Claude Code connect to your relay service, you need to set two environment variables:
One-click modification of the environment variables
Enter the command:
curl -fsSL https://your-domain/cli/install.sh | sh
3. Start using Claude Code
You can now start using Claude Code!
Launch Claude Code
Launch Claude Code directly:
claudeTo use it in a specific project:
# Go to your project directory
cd /path/to/your/project

# Launch Claude Code
claude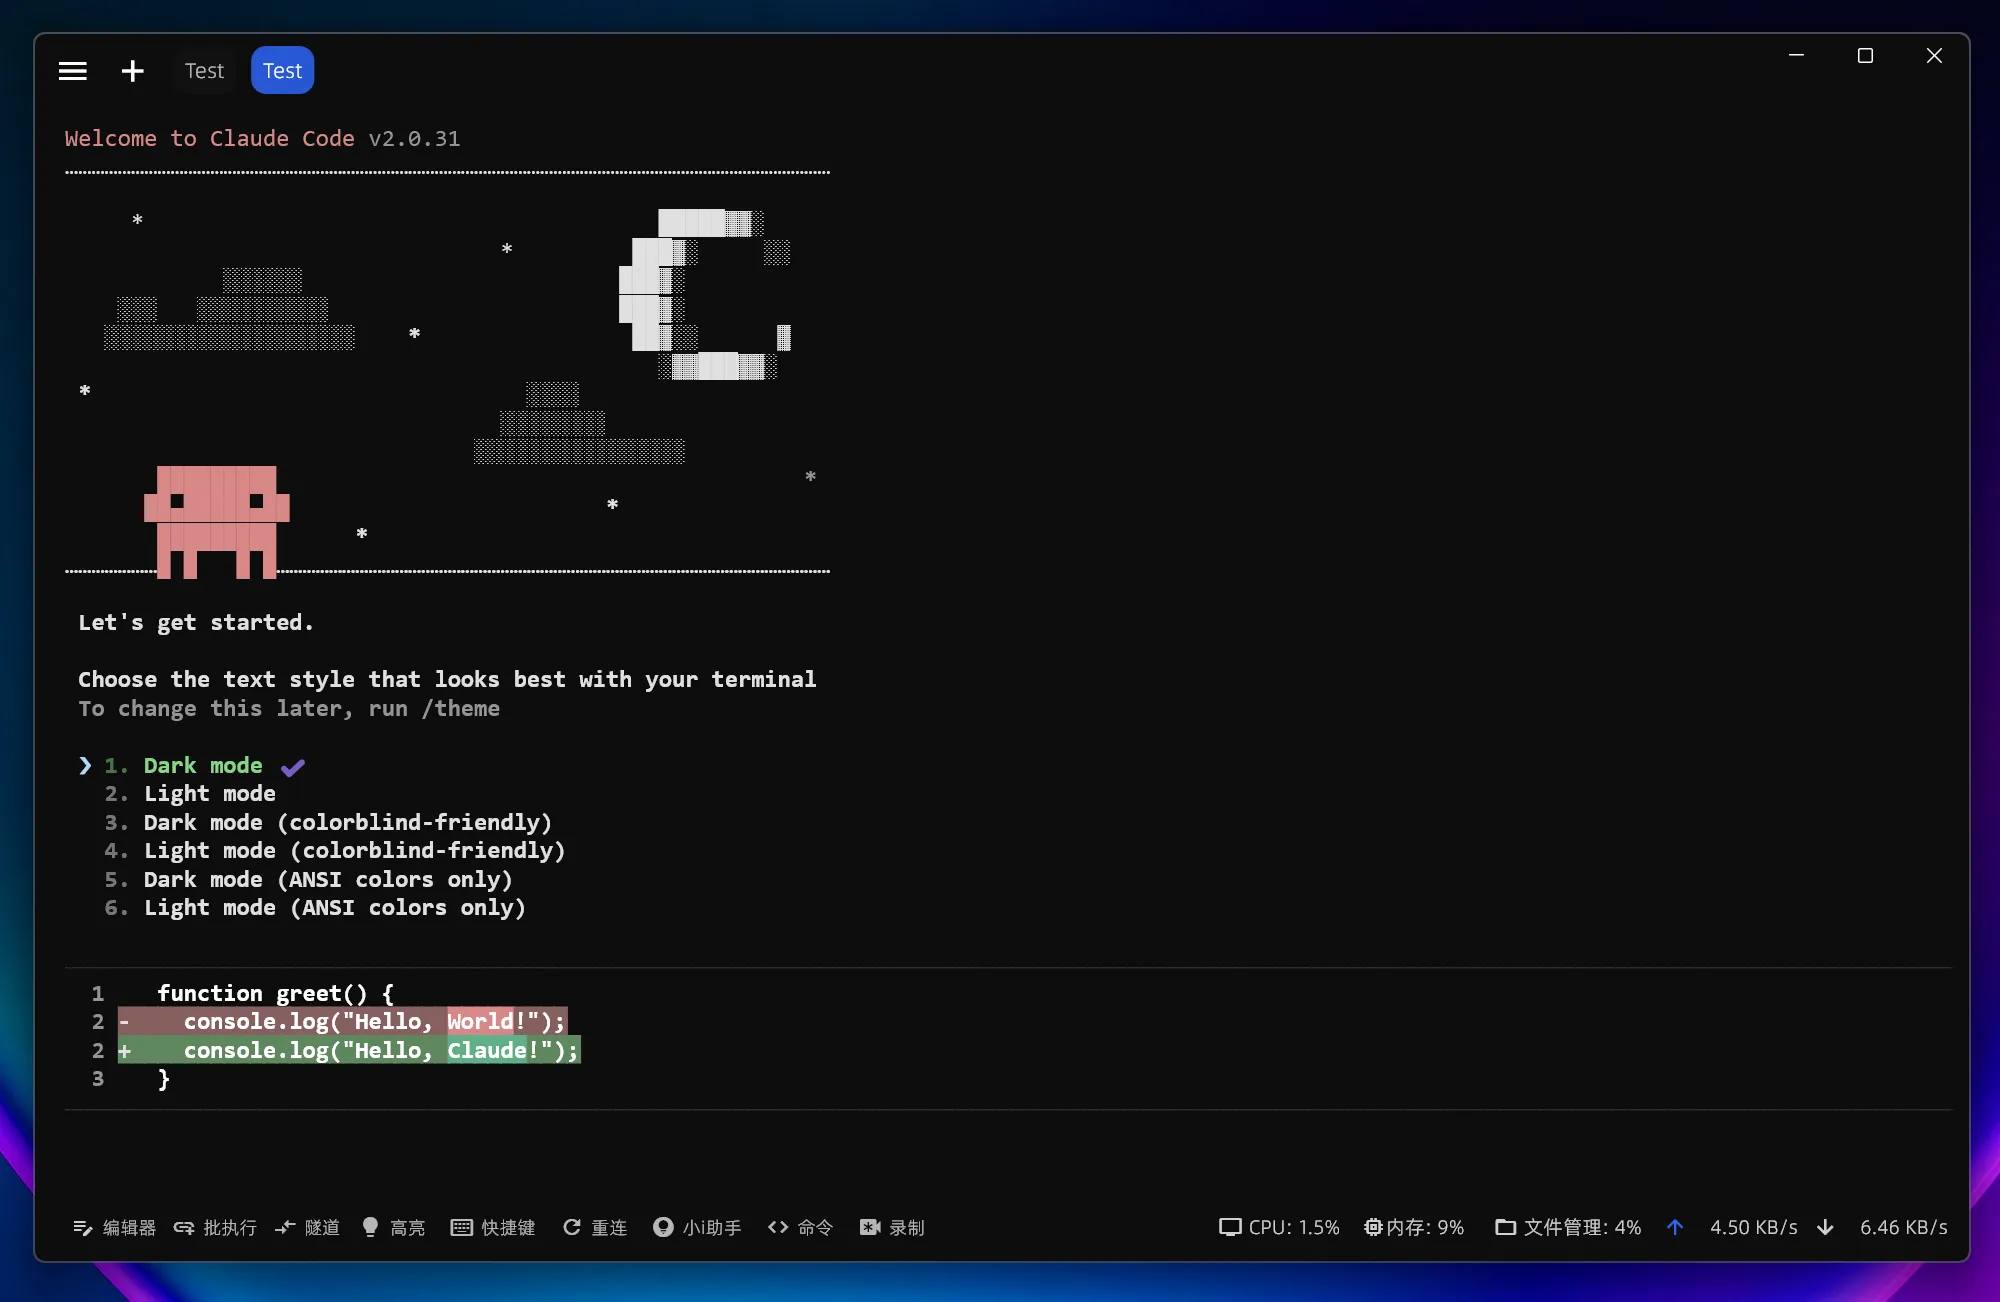
Select a model
Enter the command:
/modelPress Enter to open it and select an official model; the default model is usually fine.
Note: After modifying the
ANTHROPIC_BASE_URLenvironment variable, all models (including the official preset models) will use your custom endpoint instead of your official account quota.
4. Troubleshooting on Linux
Missing dependency libraries
Some Linux distributions require additional dependencies:
# Ubuntu/Debian
sudo apt install build-essential

# CentOS/RHEL
sudo dnf groupinstall "Development Tools"
Environment variables not taking effect
Check the following:
- Confirm you modified the correct configuration file (
.bashrcor.zshrc) - Restart the terminal or run
source ~/.bashrc - Verify the setting:
echo $ANTHROPIC_BASE_URL